
I Baked the Viral Japanese Salt Bread That Took the Internet by Storm
The Rise of Shio Pan: A Japanese Salt Bread Trend Sweeping the US
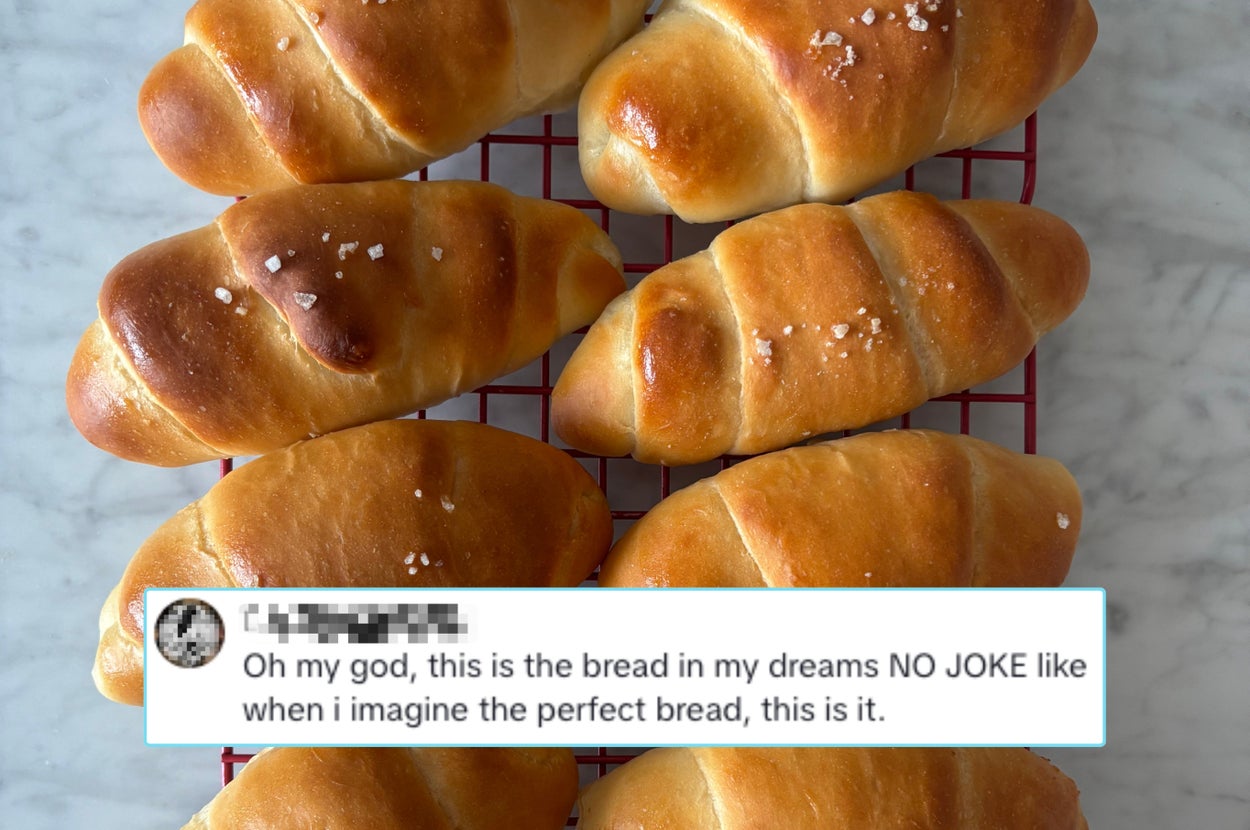
If you’ve spent any time on food TikTok lately, chances are you’ve seen the buttery, golden rolls known as shio pan popping up everywhere. Also known as salt bread, these rolls originated in Japan and later exploded in popularity in South Korea. The trend recently made its way to the US, with bakers racing to recreate the rolls and even bakeries opening up dedicated solely to the Japanese bread.

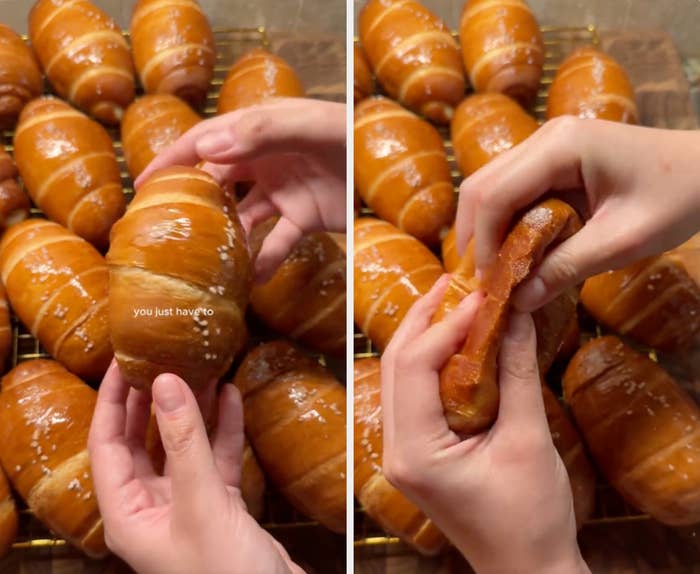
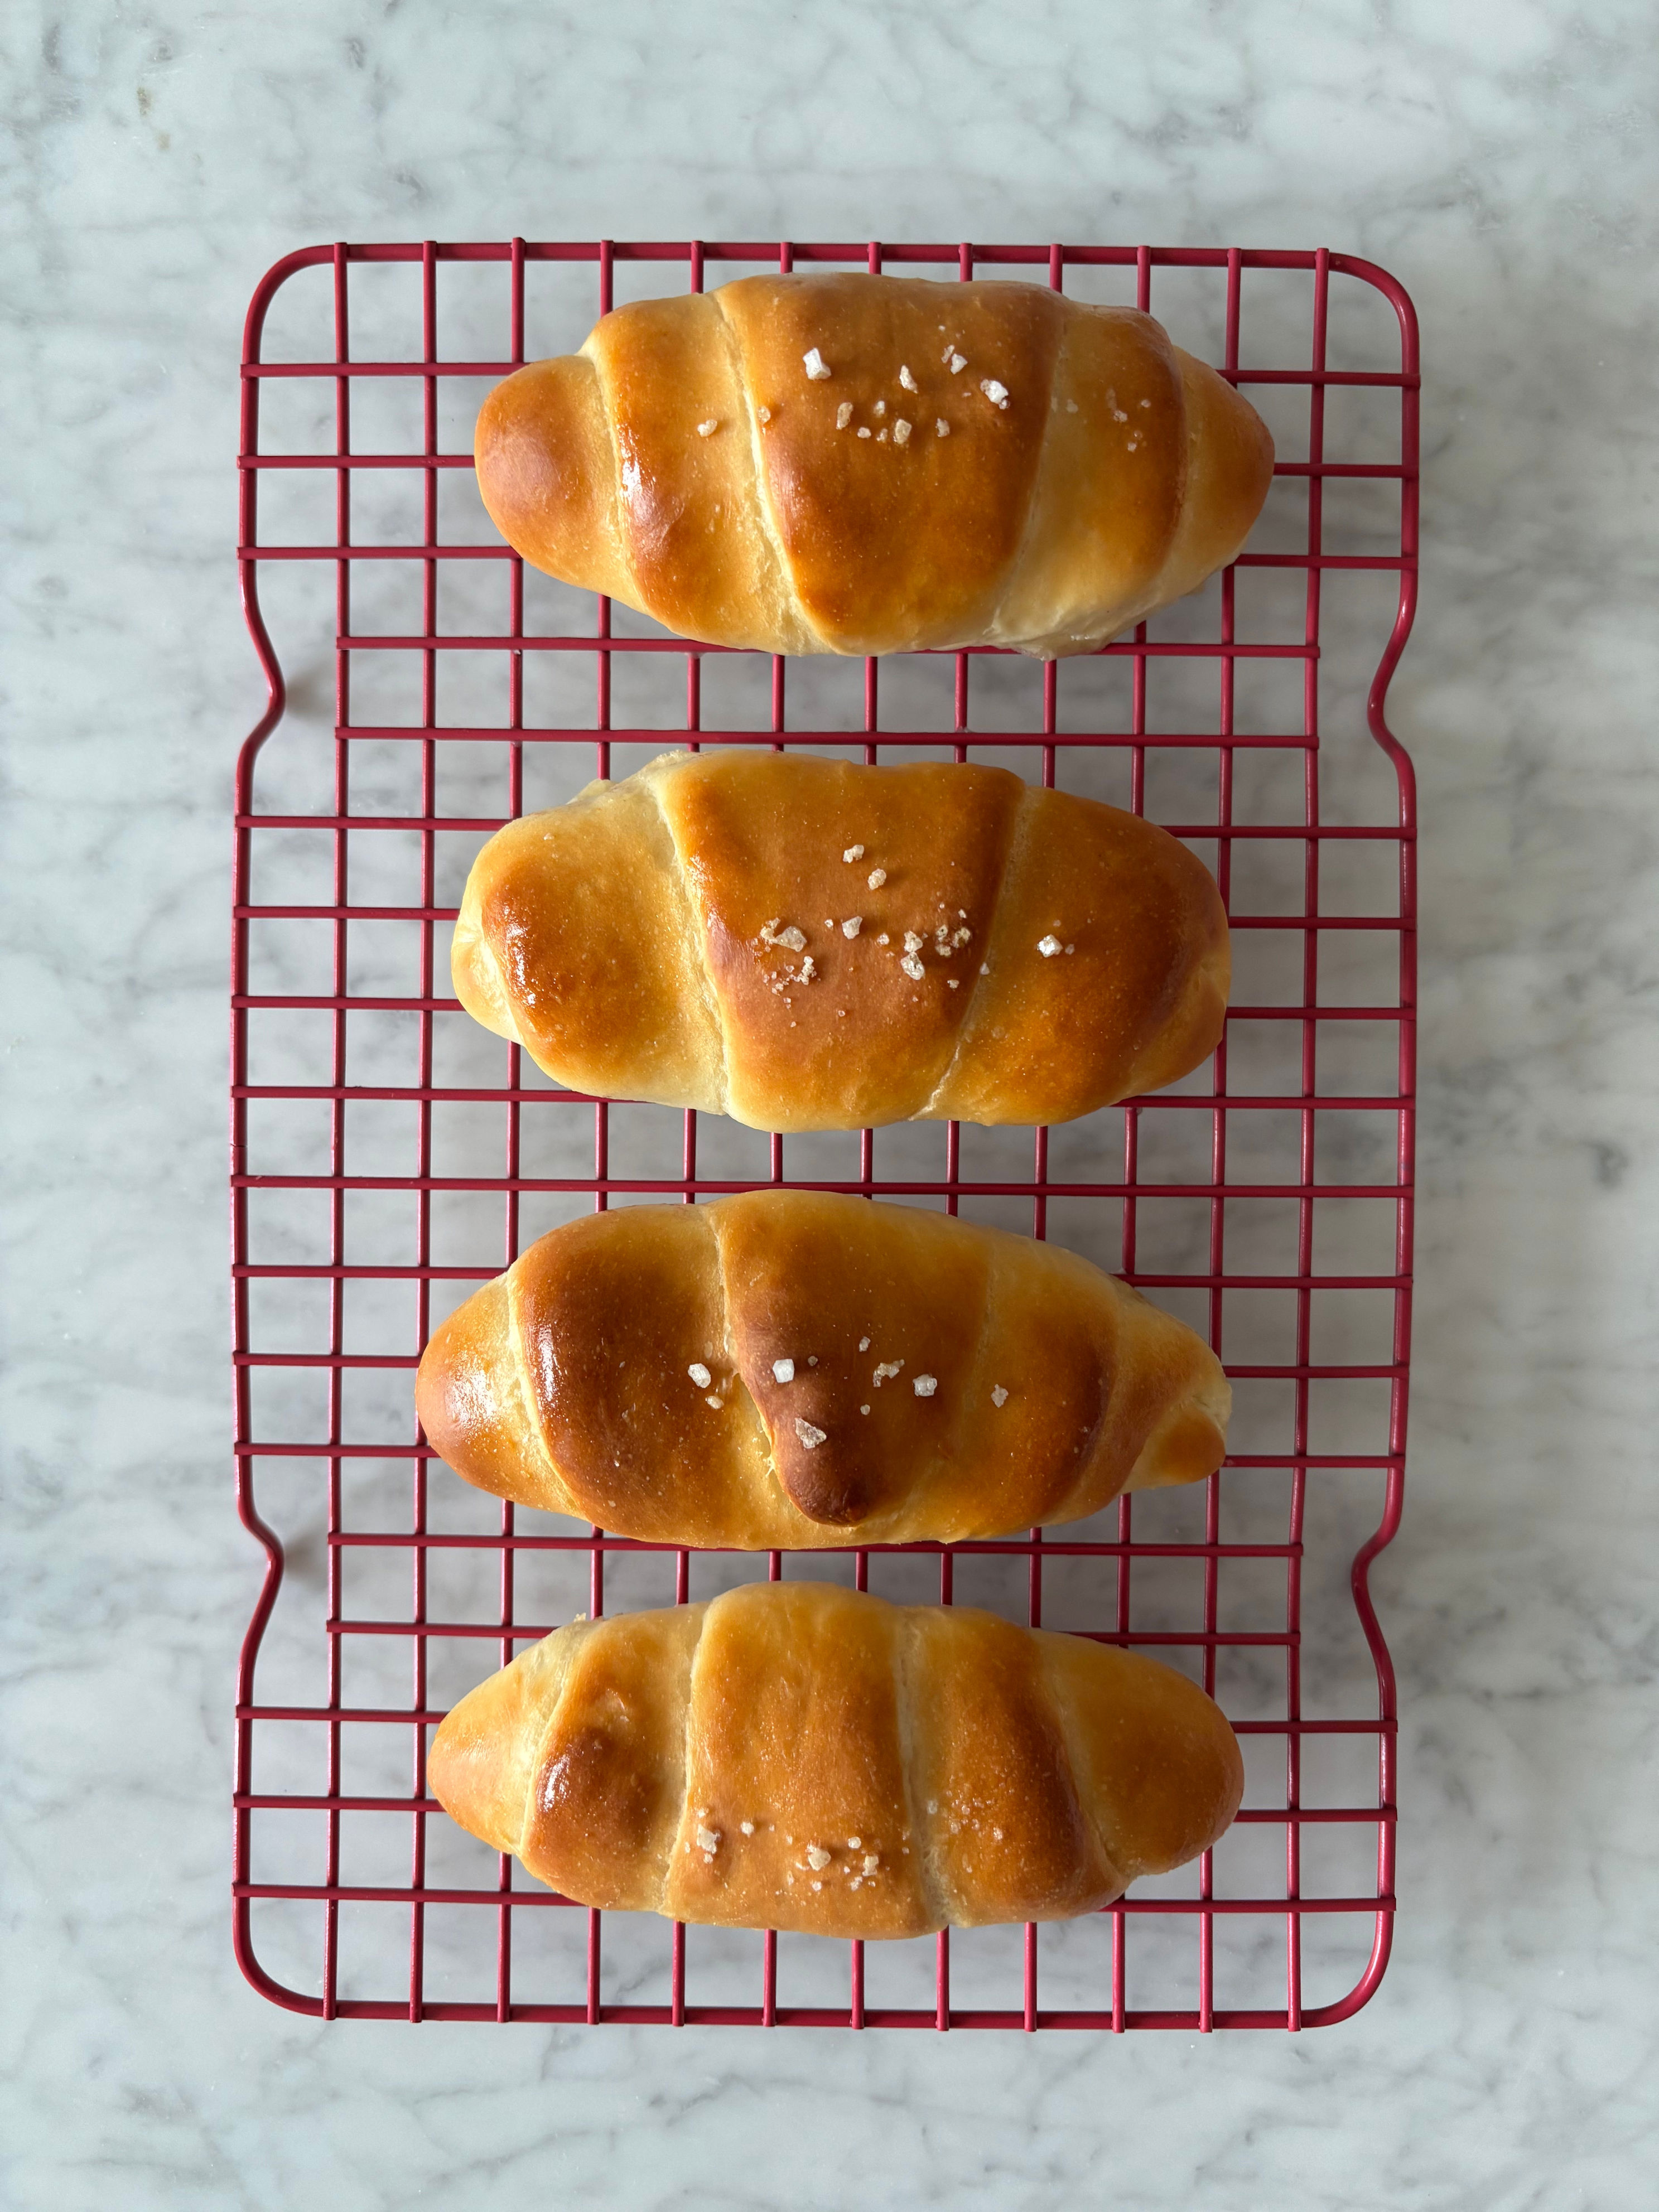
At first glance, they look like simple crescent rolls. But bite into one, and it’s easy to see why people are obsessed. The bread is impossibly fluffy, wrapped around a piece of butter that melts as it bakes. That butter doesn’t just flavor the dough; it actually fries the bottom of the roll on the baking sheet, creating a crisp, golden base. Add a light sprinkle of salt on top, and you’ve got the perfect mix of soft, buttery, and crunchy.
I’ve had shio pan from a few local bakeries and quickly became a fan. The contrast between the pillowy bread and that crispy, buttery bottom is ridiculously good. So when I kept seeing Erin Lim’s viral salt bread recipe all over my feed, I had to know: How would a homemade version compare to the bakery ones?
Naturally, there was only one way to find out, so I tried making Erin’s shio pan (the one viewed by 11 million people) to see if it’s really worth the hype.

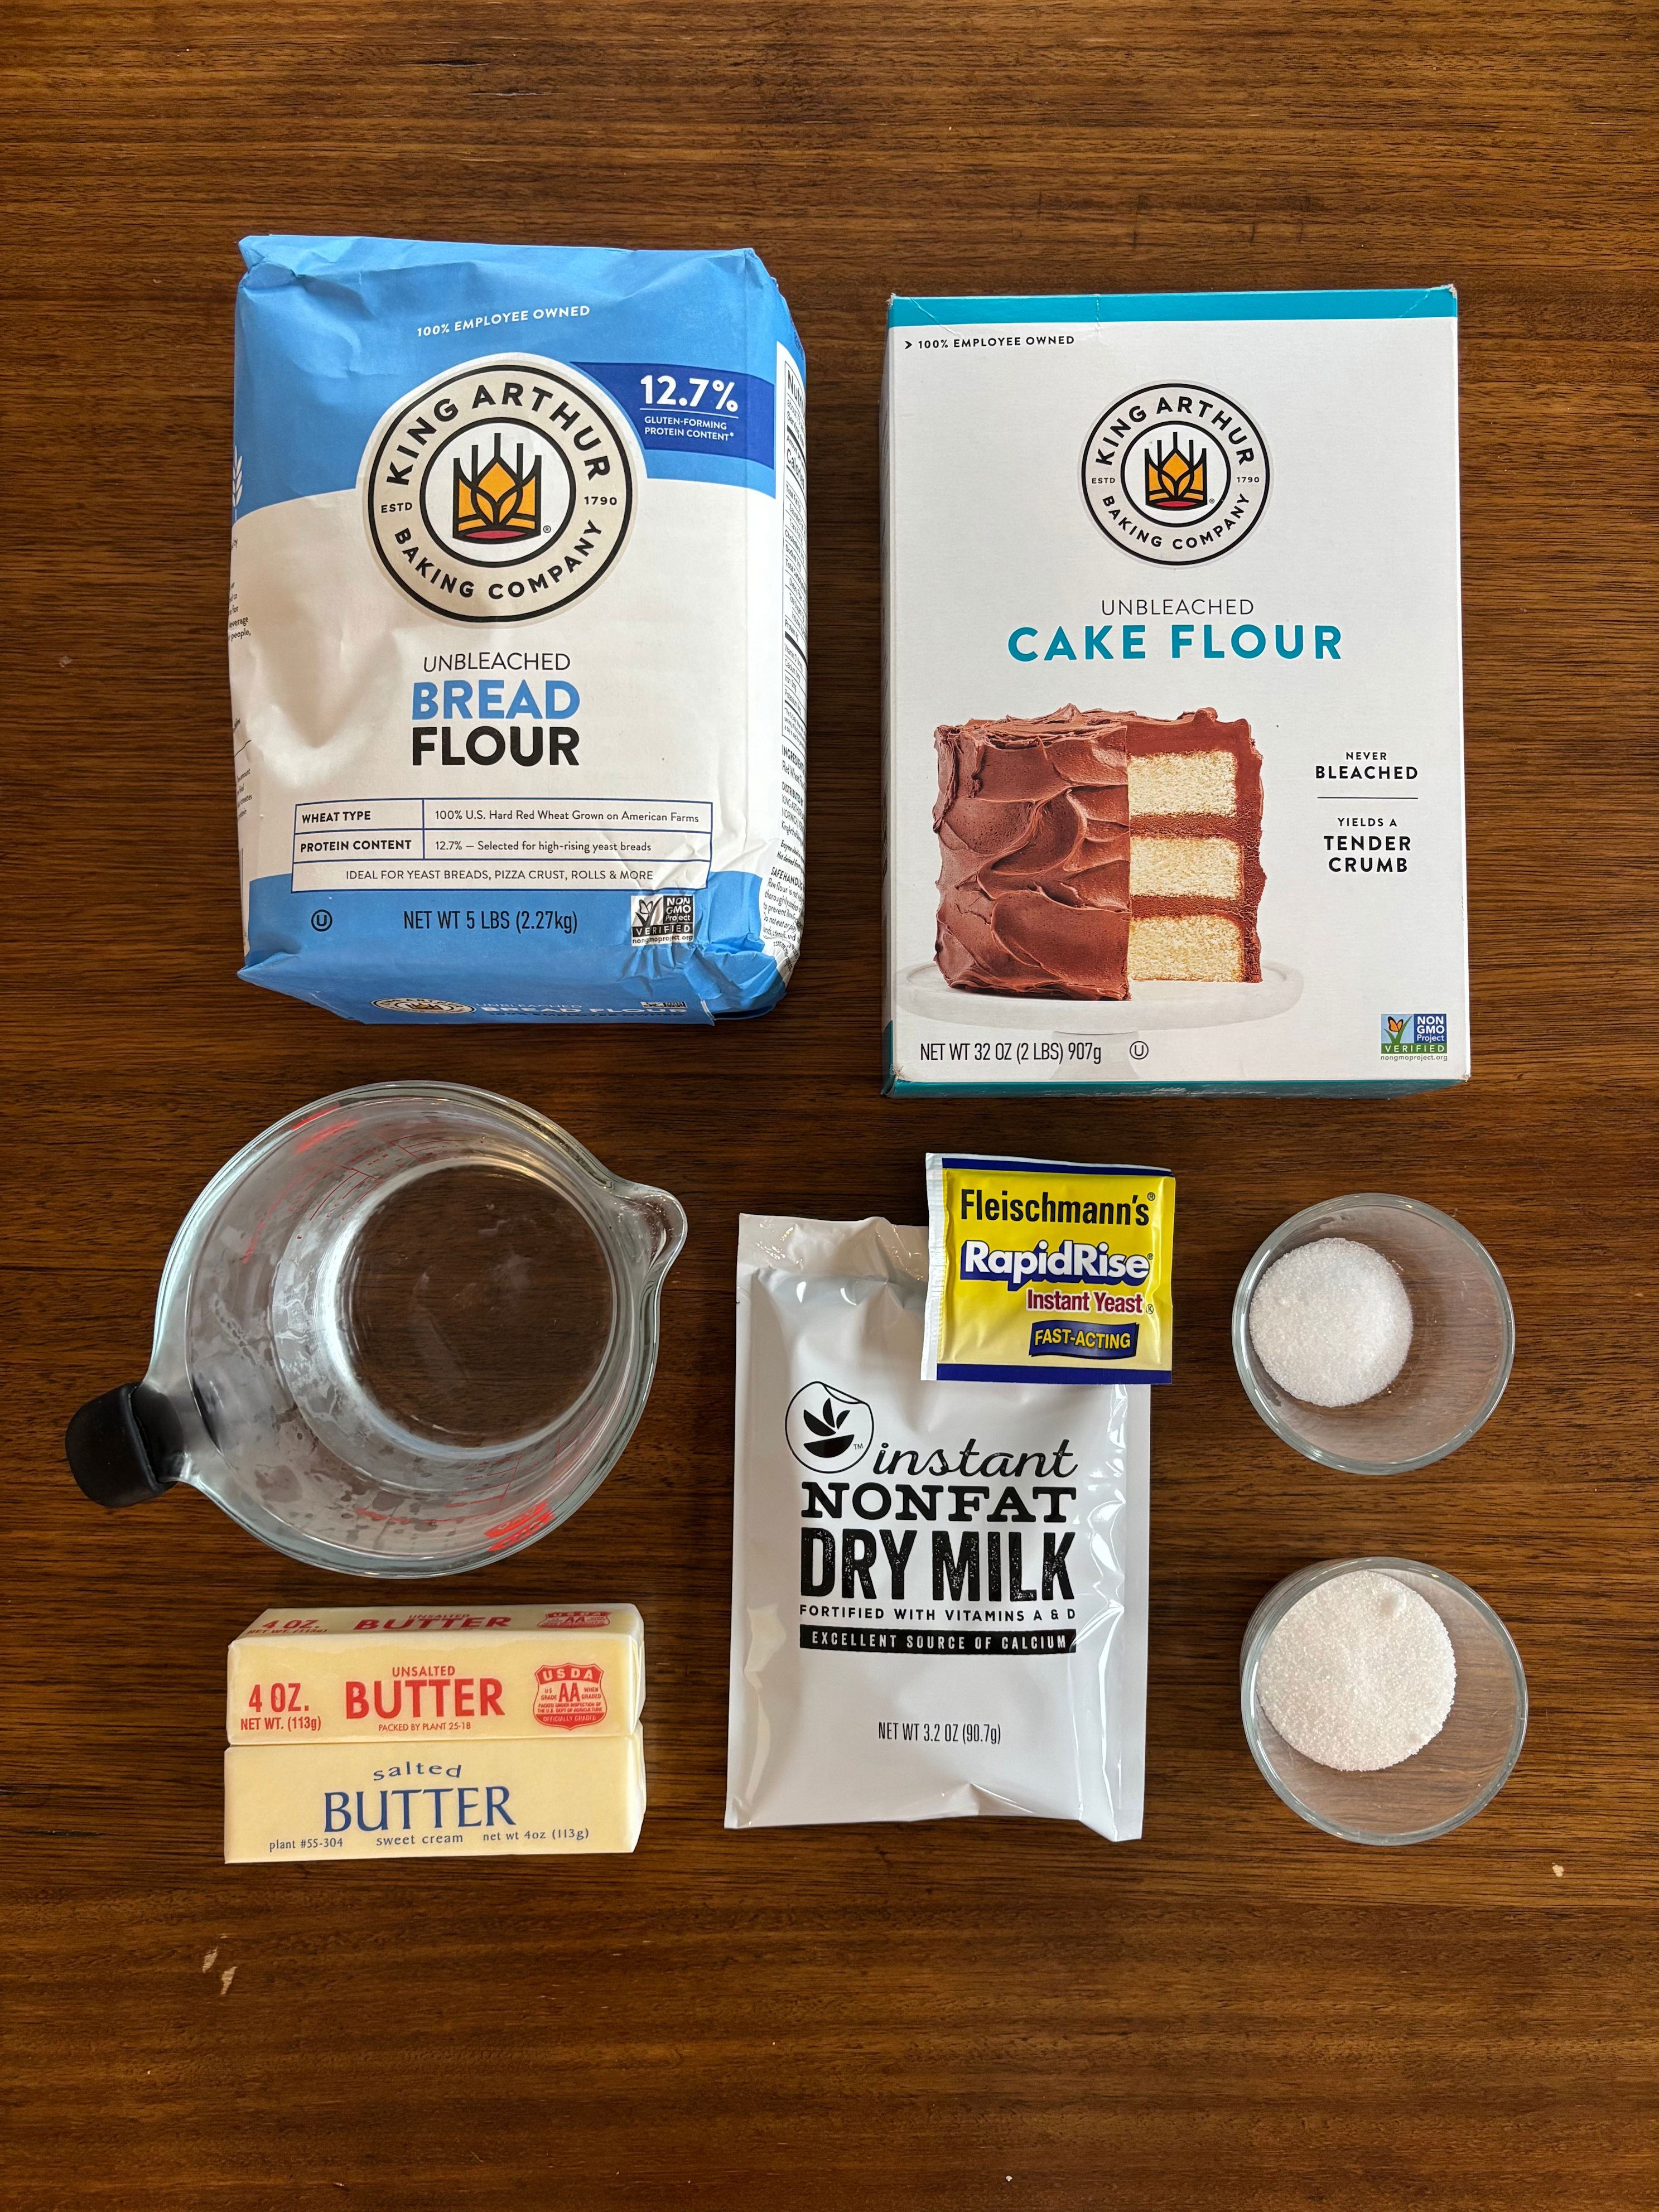
Ingredients for Shio Pan
Note that these measurements are all in grams, since it’s important to be as precise as possible when making any sort of bread.
How To Make Shio Pan (Japanese Salt Bread)
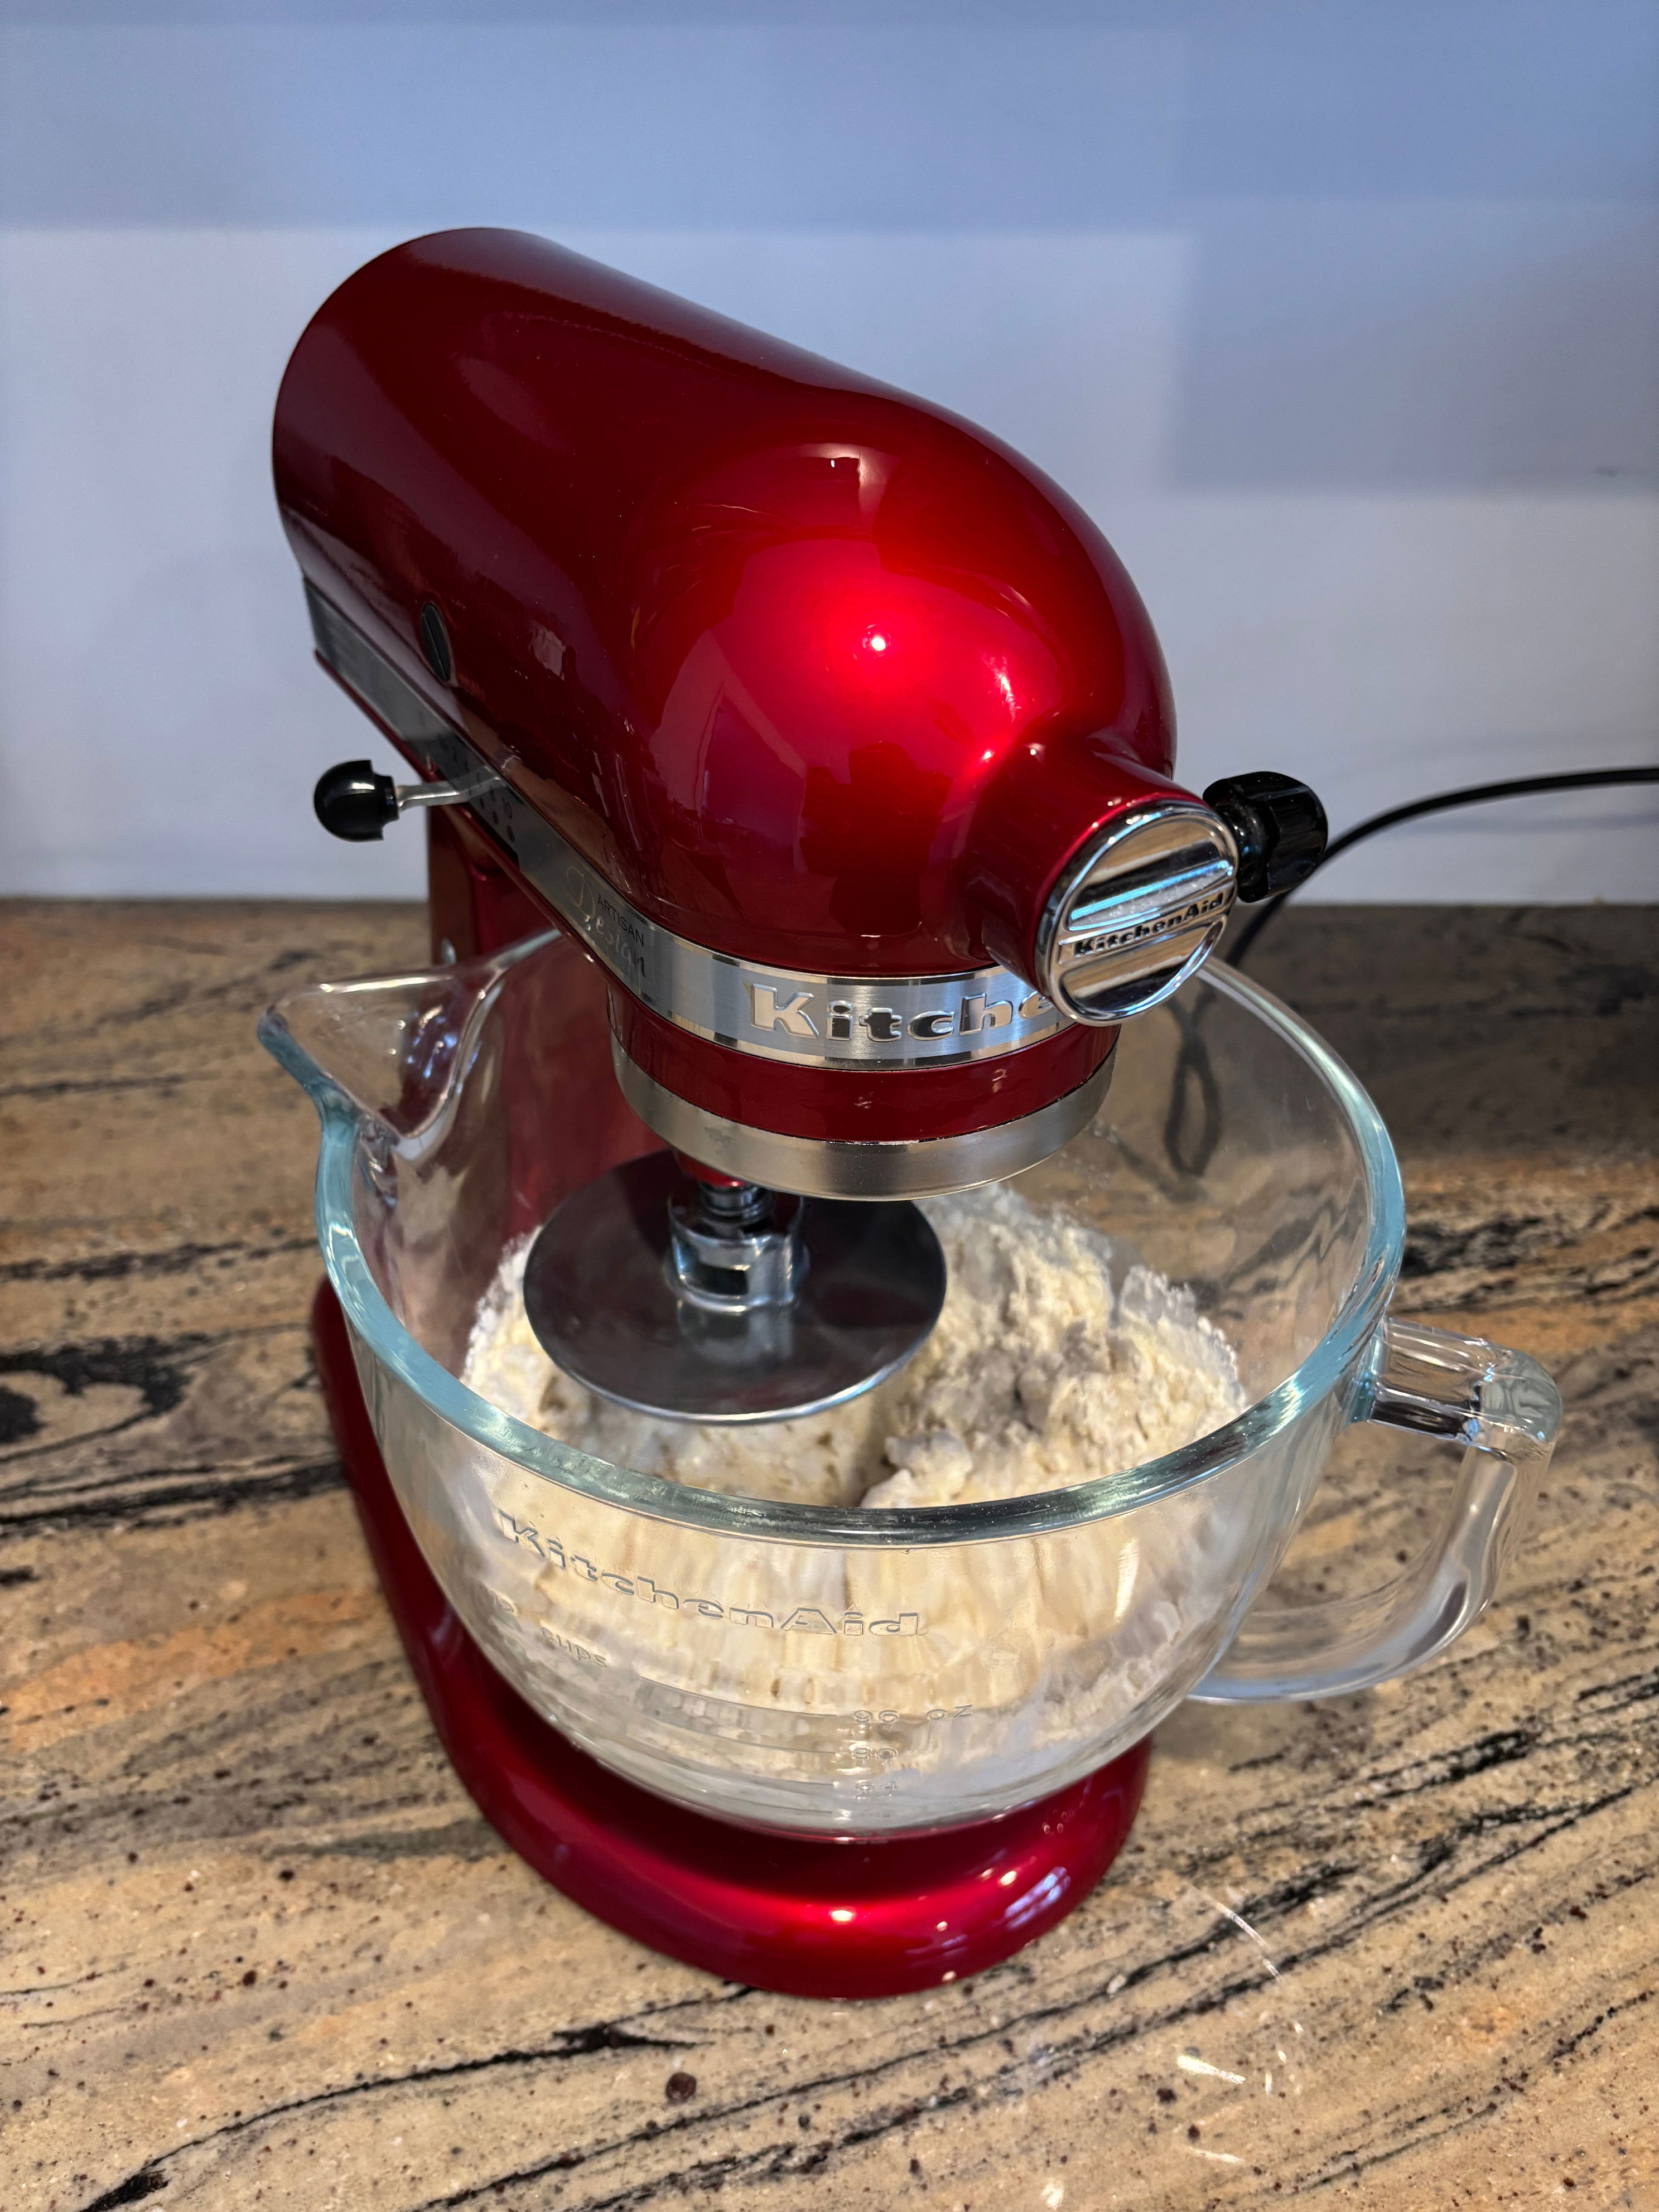
STEP 1: Mixing the Dough
Add both flours, sugar, salt, and non-fat milk powder to the bowl of a stand mixer fitted with the dough hook attachment. Pour in the cold water — and yes, it really does need to be cold. I stuck mine in the fridge overnight to make sure it was properly chilled, but if you forgot, tossing a couple of ice cubes in your water for a minute works too. Mix everything on low speed until it comes together into a shaggy, slightly messy-looking dough.
STEP 2: Kneading the Dough
Next up: the butter. And just like the water, it should be cold straight from the fridge, not softened. Add the unsalted butter to the dough, then bump the mixer up to medium speed and let it knead until smooth. This part takes some patience. The recipe calls for 15 to 25 minutes, but my dough needed 30 minutes.
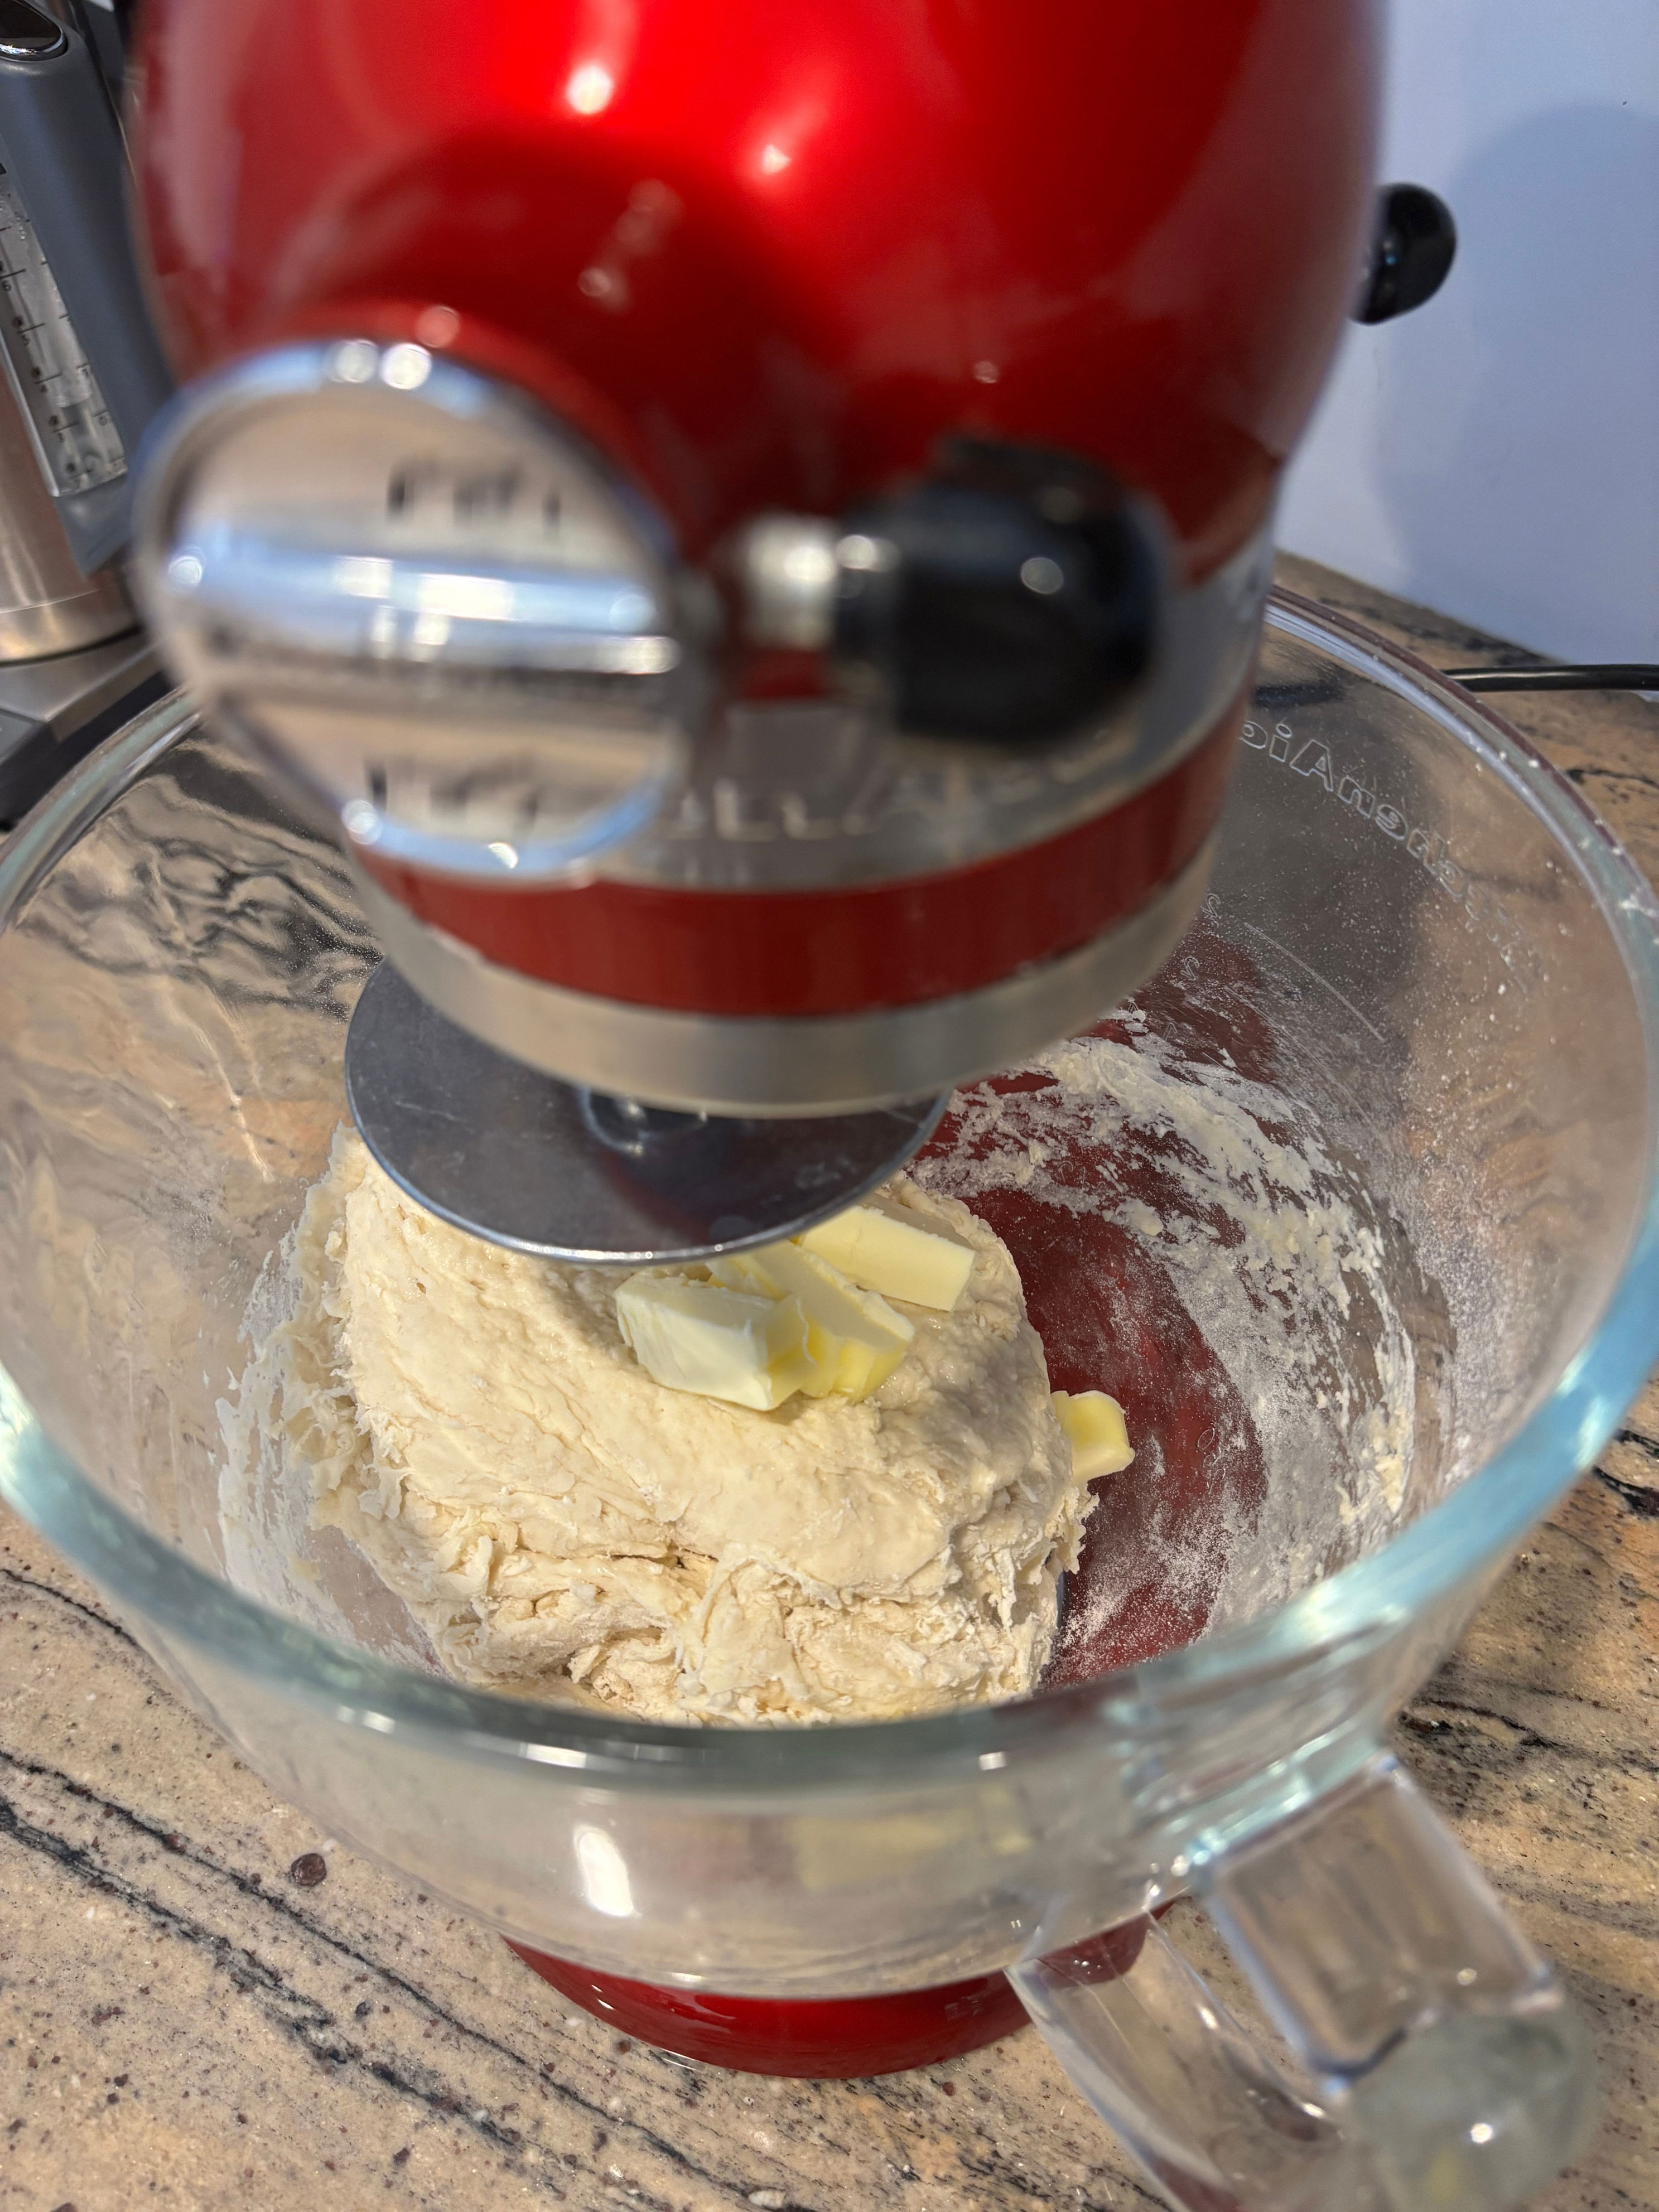
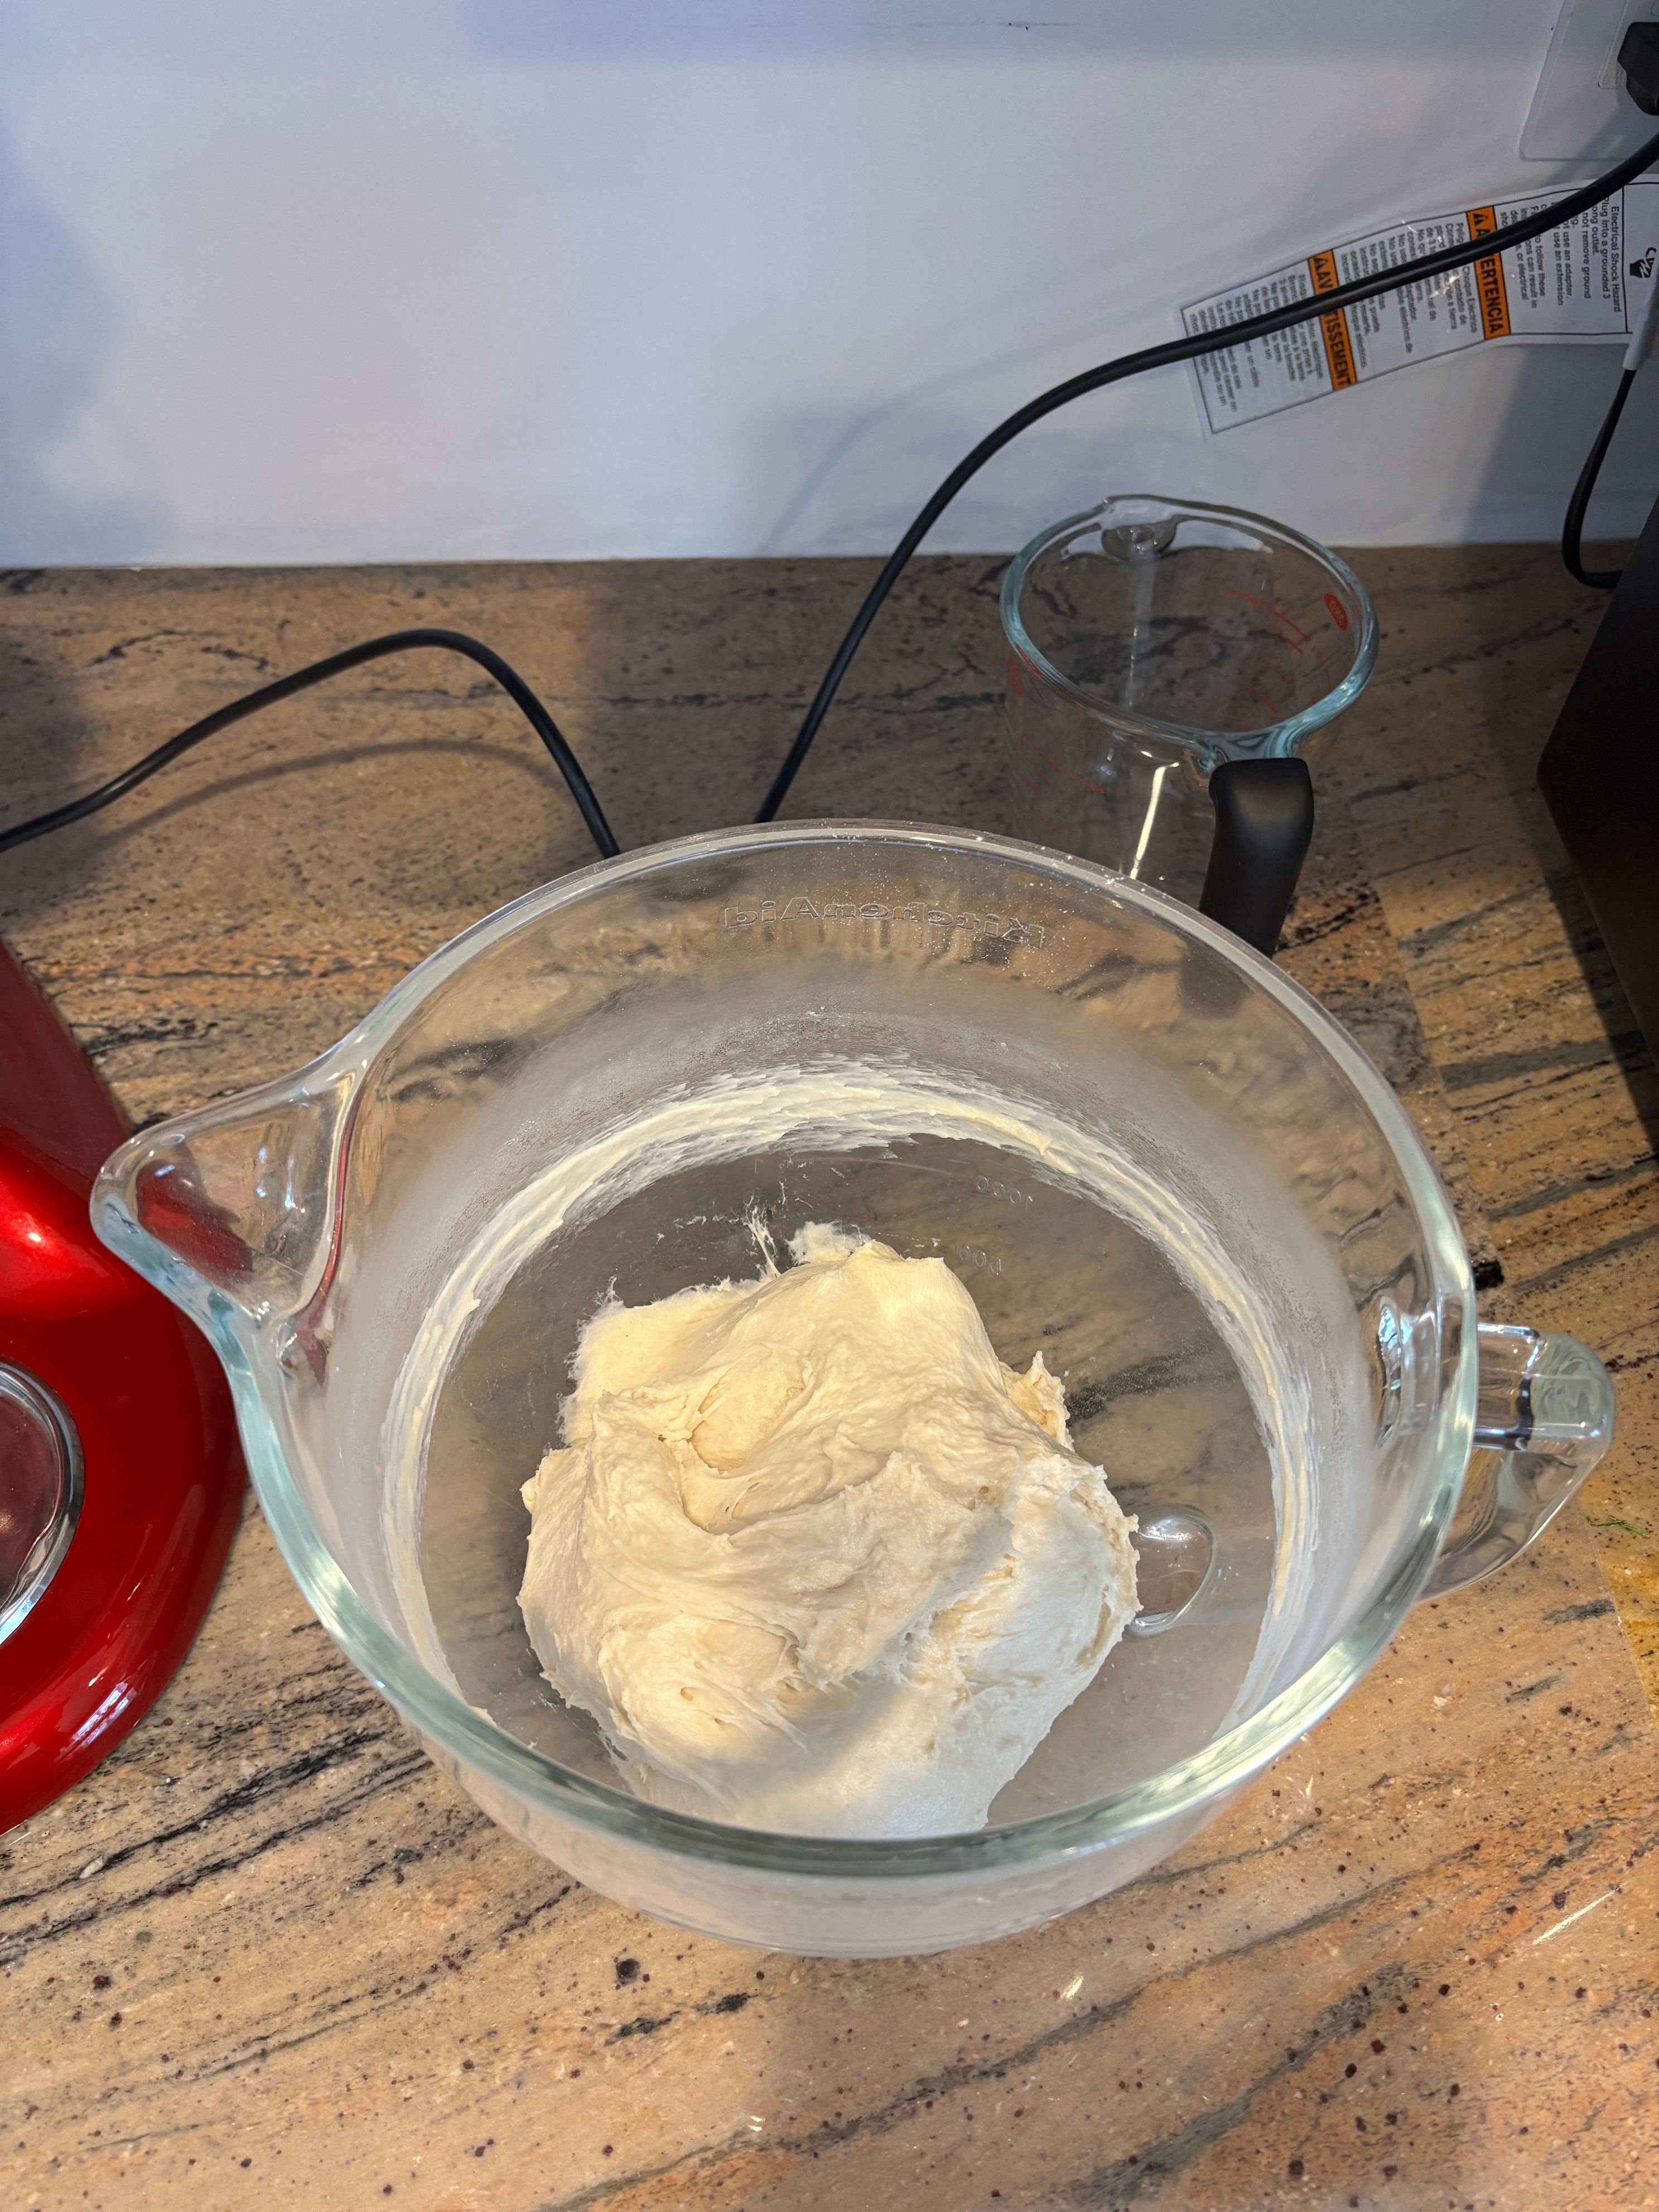
It’s pretty sticky, and you will be tempted to add more flour. Resist the urge and trust the process. Keep kneading and check in every five minutes or so to do a quick windowpane test (stretching a small piece of dough until it’s translucent enough that light can shine through it). Once the dough pulls cleanly away from the bowl and stretches thin without tearing right away, you’re good to go.
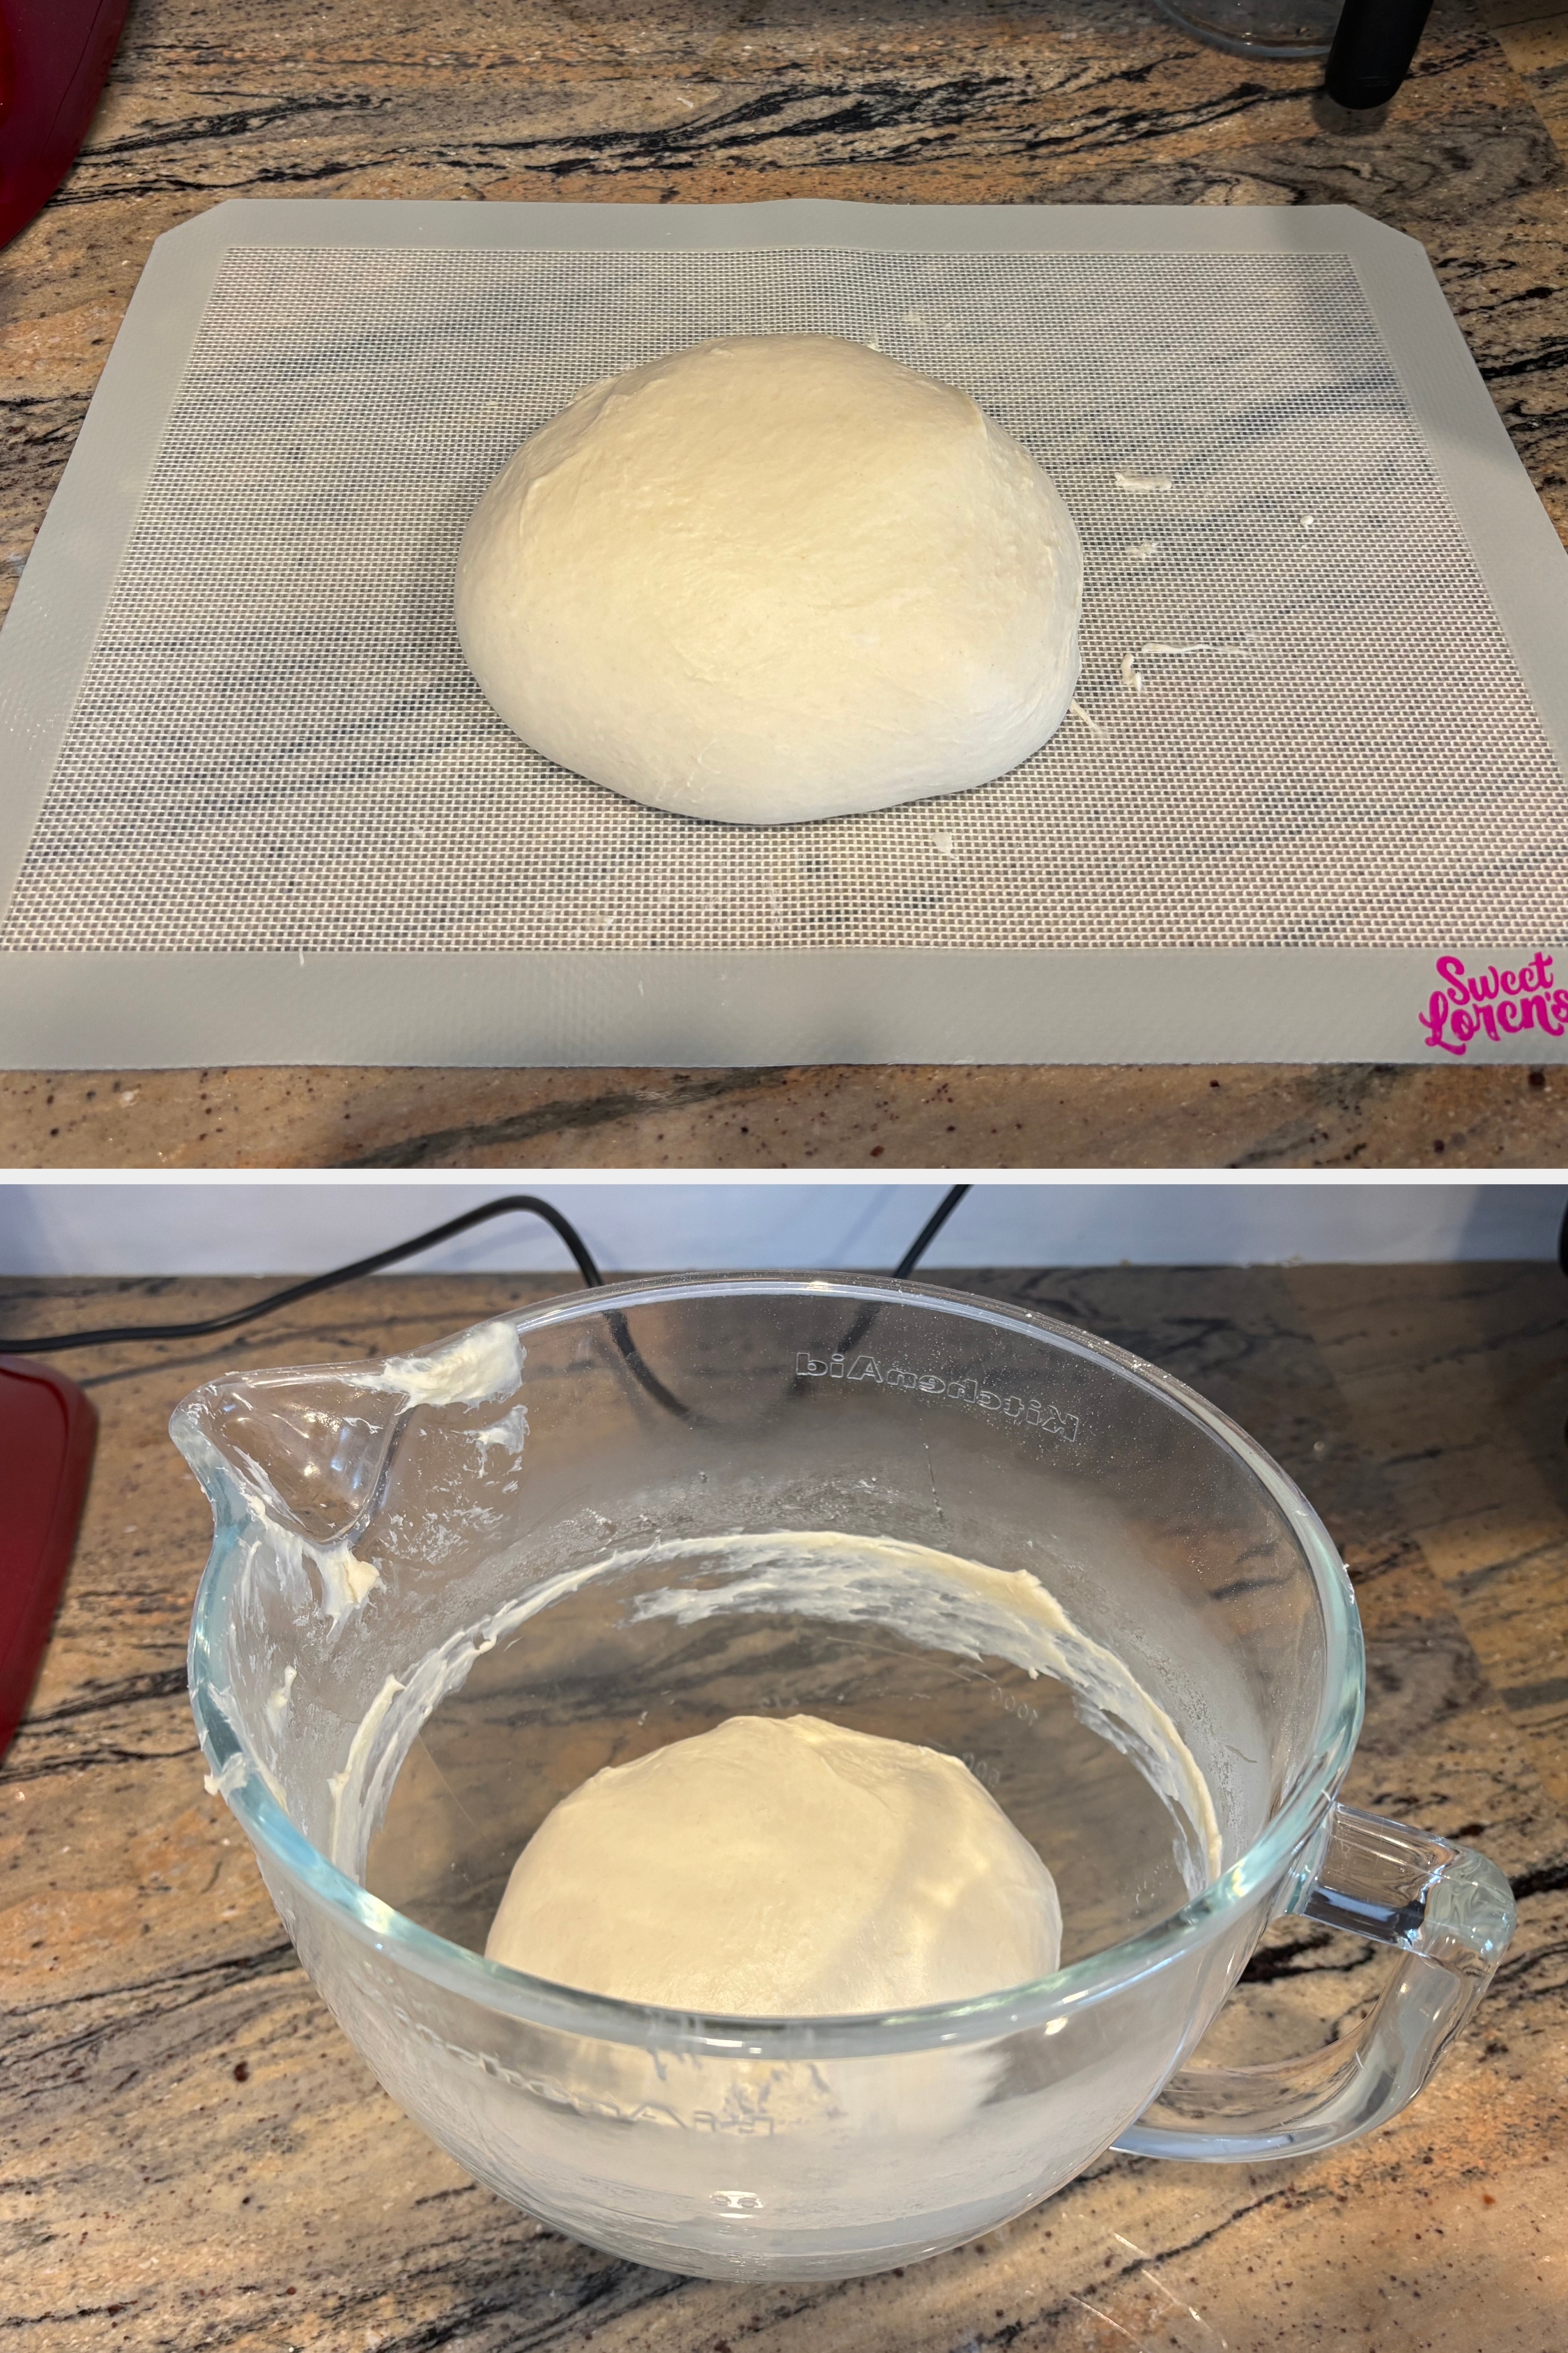
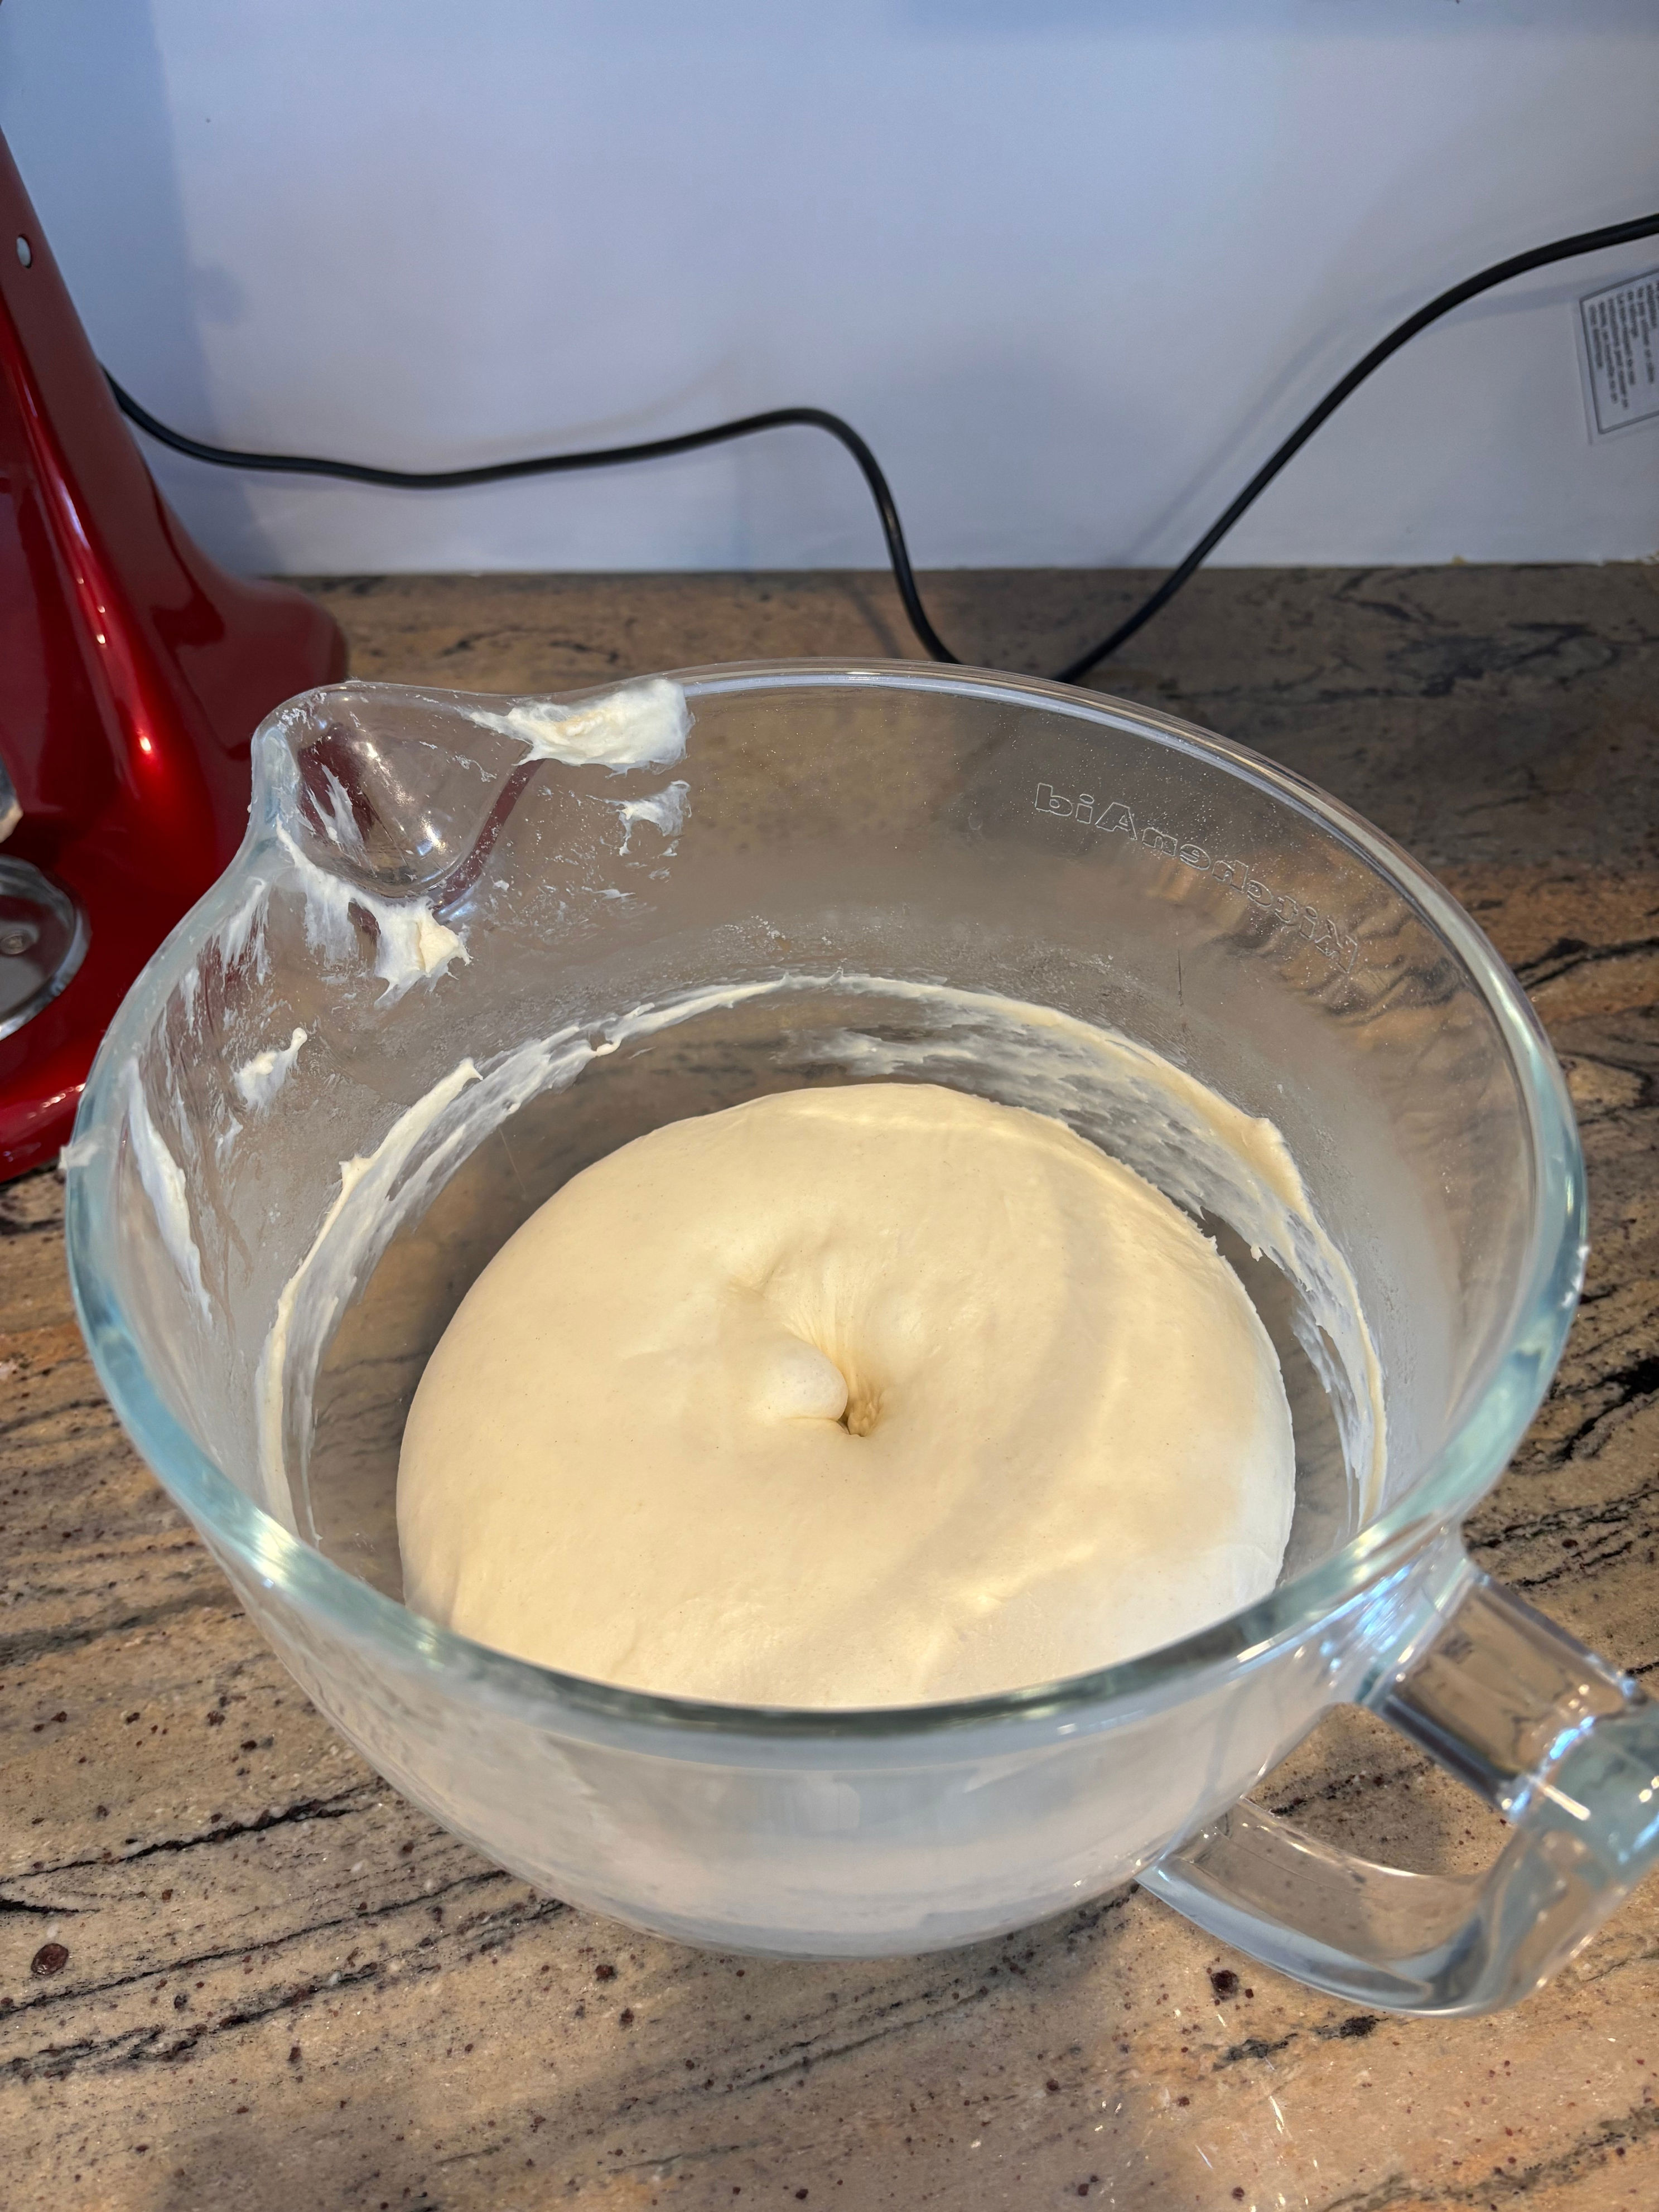
STEP 3: Rising the Dough
Shape the dough into a tight, smooth ball and place it back in the bowl. Cover it and let it rise until doubled in size. In my kitchen (which was around 78°F), this took about one hour.
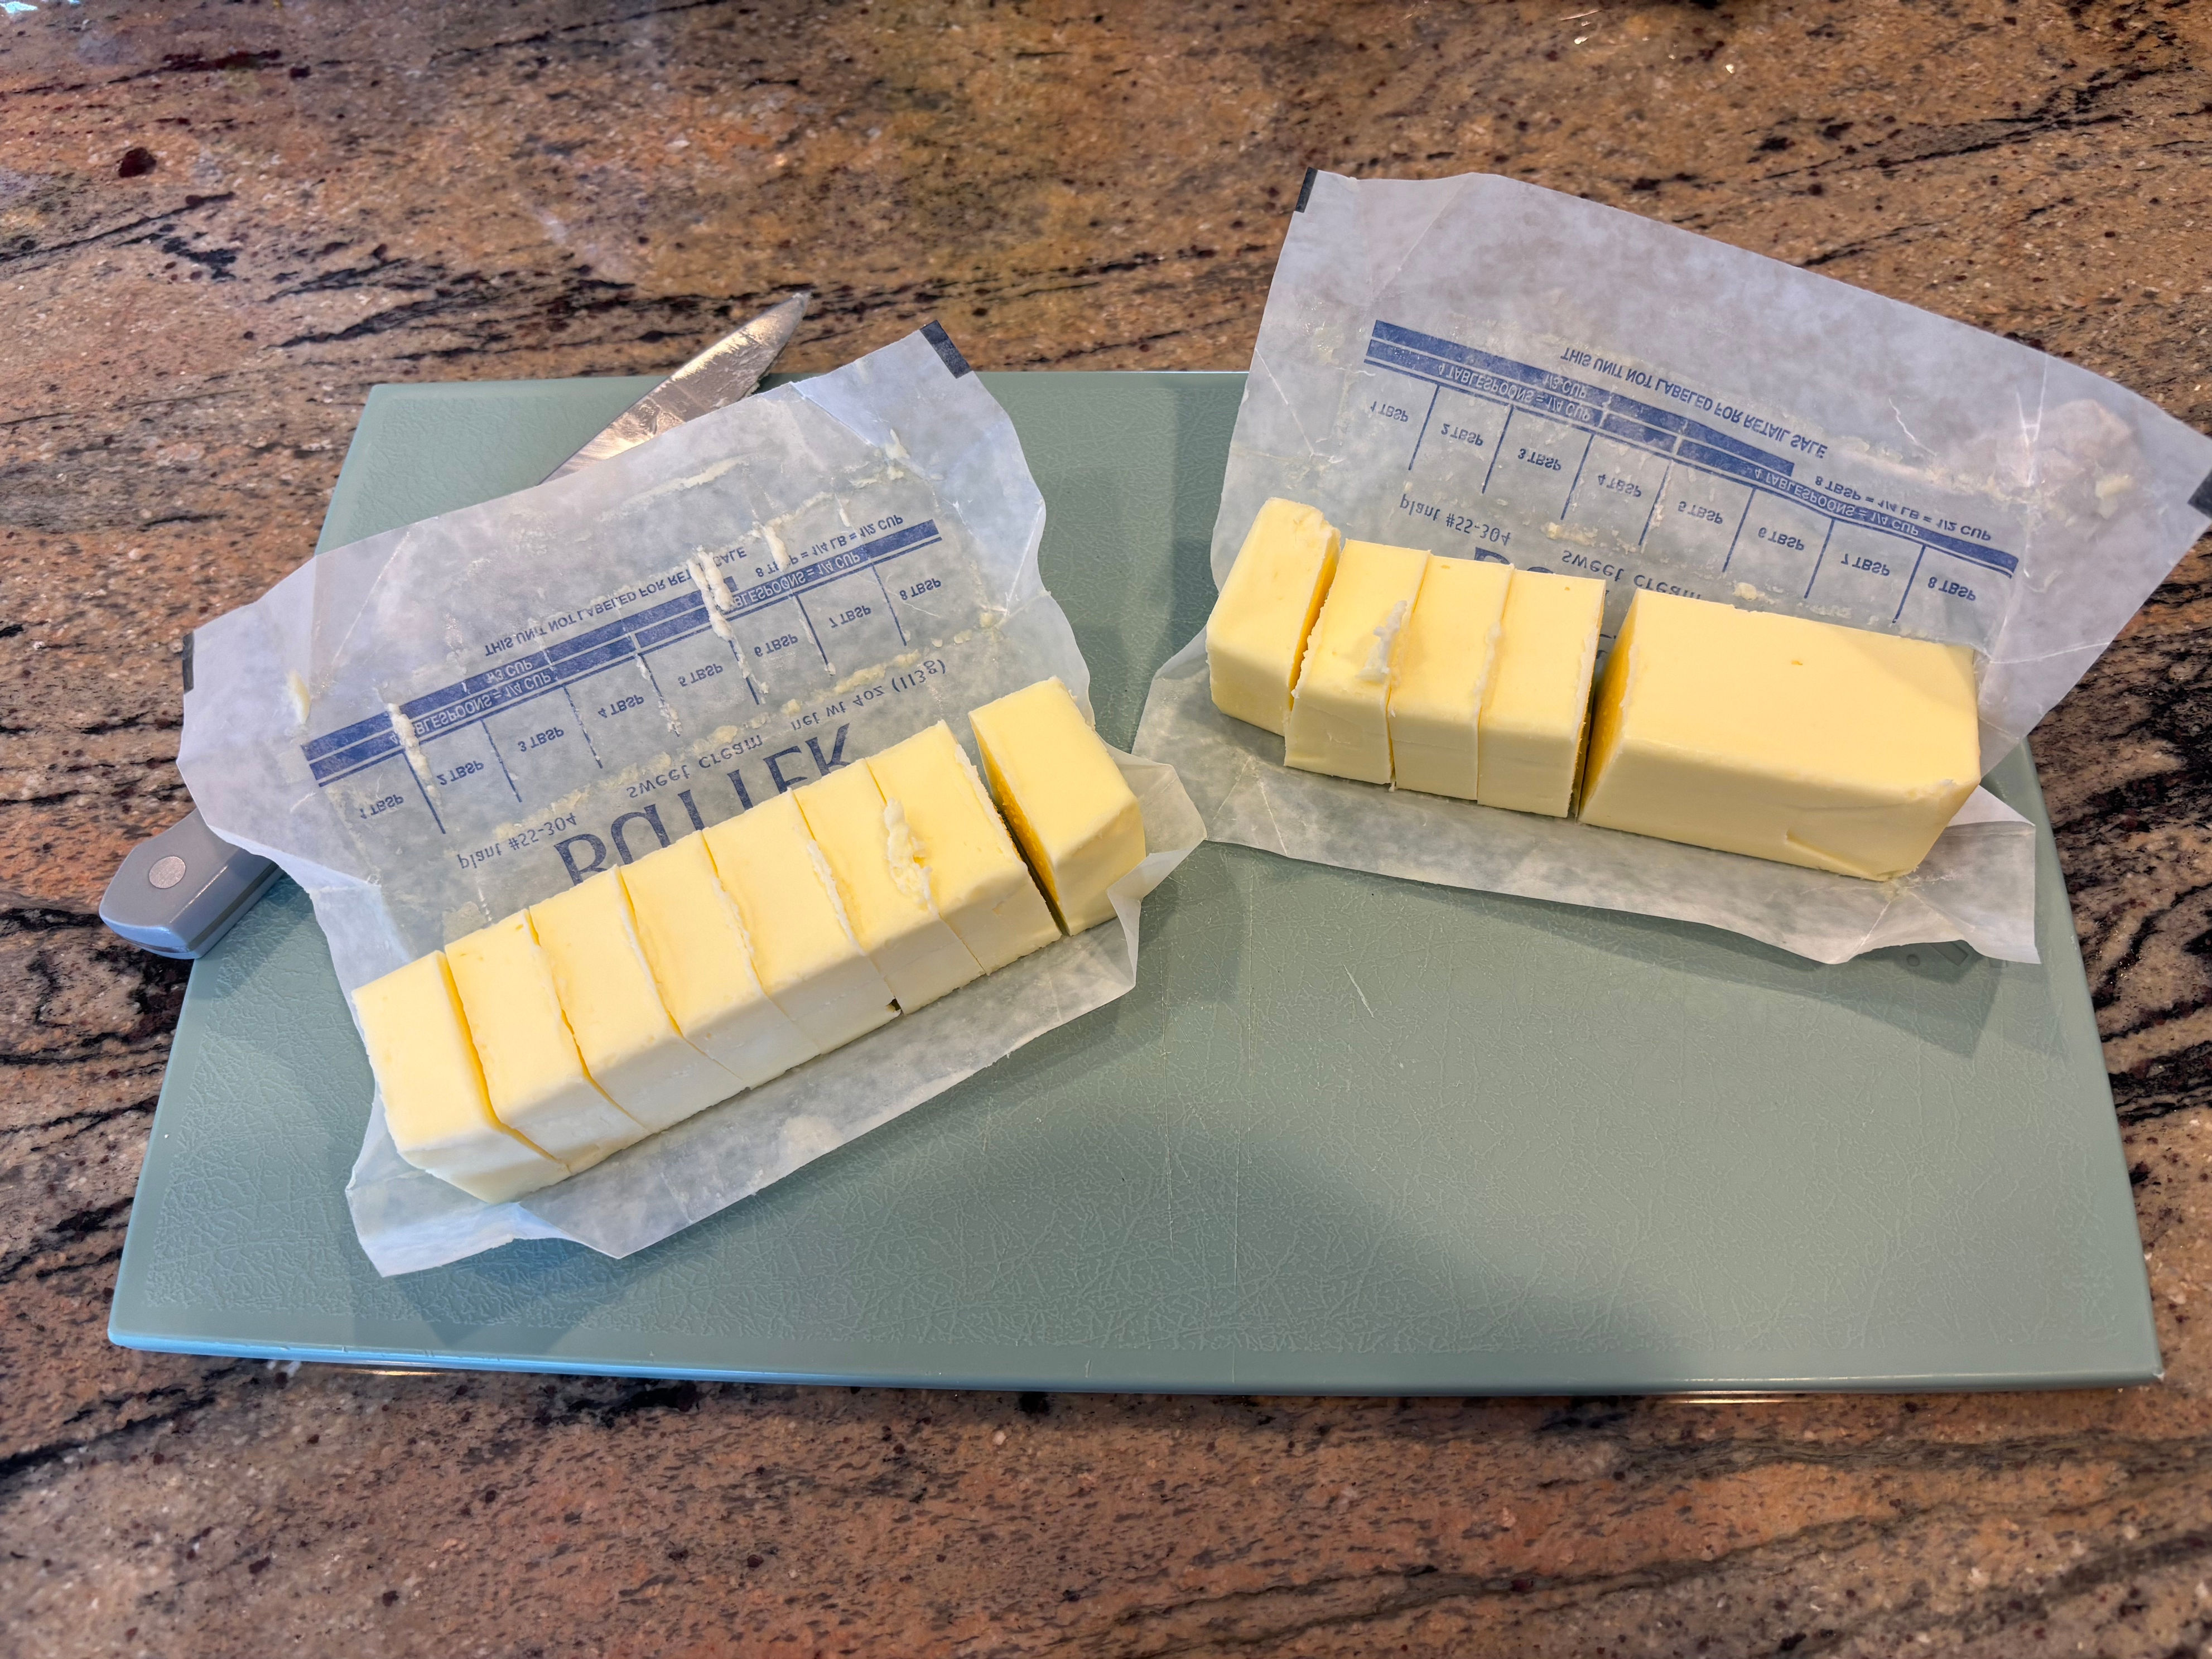
STEP 4: Preparing the Butter
While the dough rises, cut the salted butter into small 1-inch pieces. These will go inside the rolls later and create that signature buttery center.
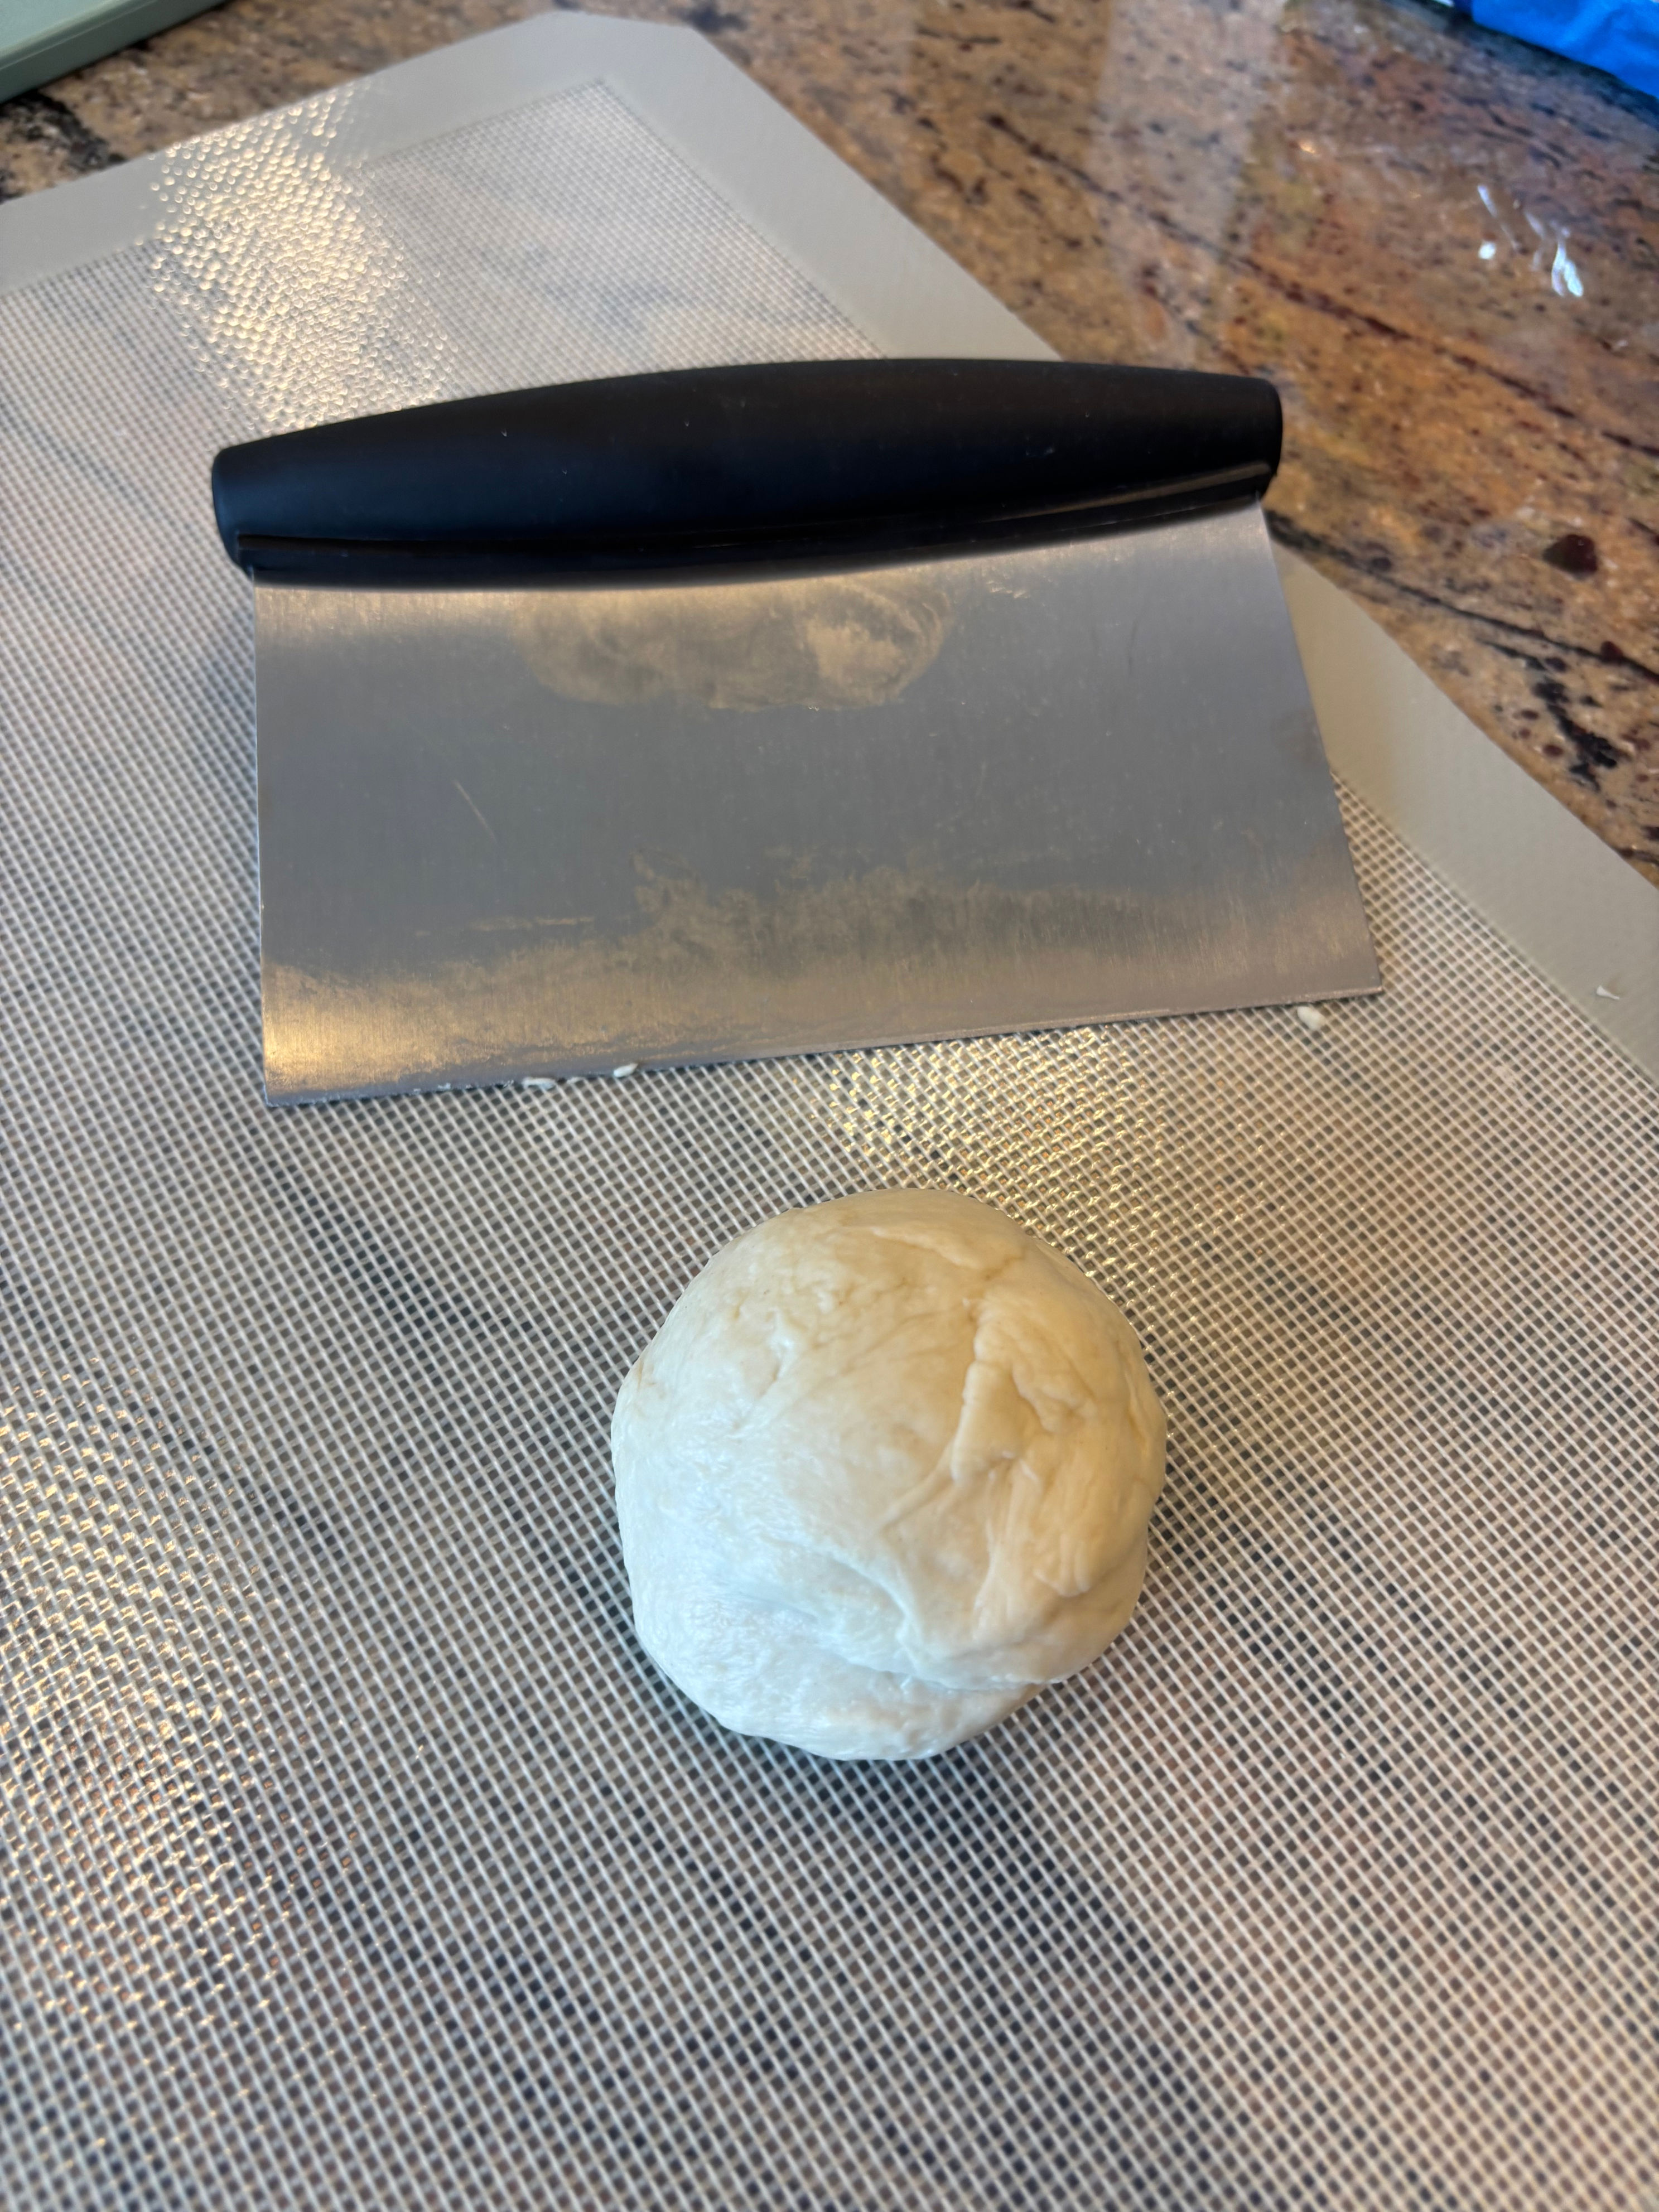
STEP 5: Dividing the Dough
Once the dough has doubled, give it a quick poke test. If you press a finger into the center and the indent stays put without springing back, it’s ready. Gently punch the dough down to release the gas, then divide it into 80-gram portions. I ended up with 12 pieces total.
STEP 6: Resting the Dough
Roll each portion into a smooth ball. Cover them with a towel and let them rest for 15 minutes. Start the timer as soon as you shape the first one so they all rest evenly.
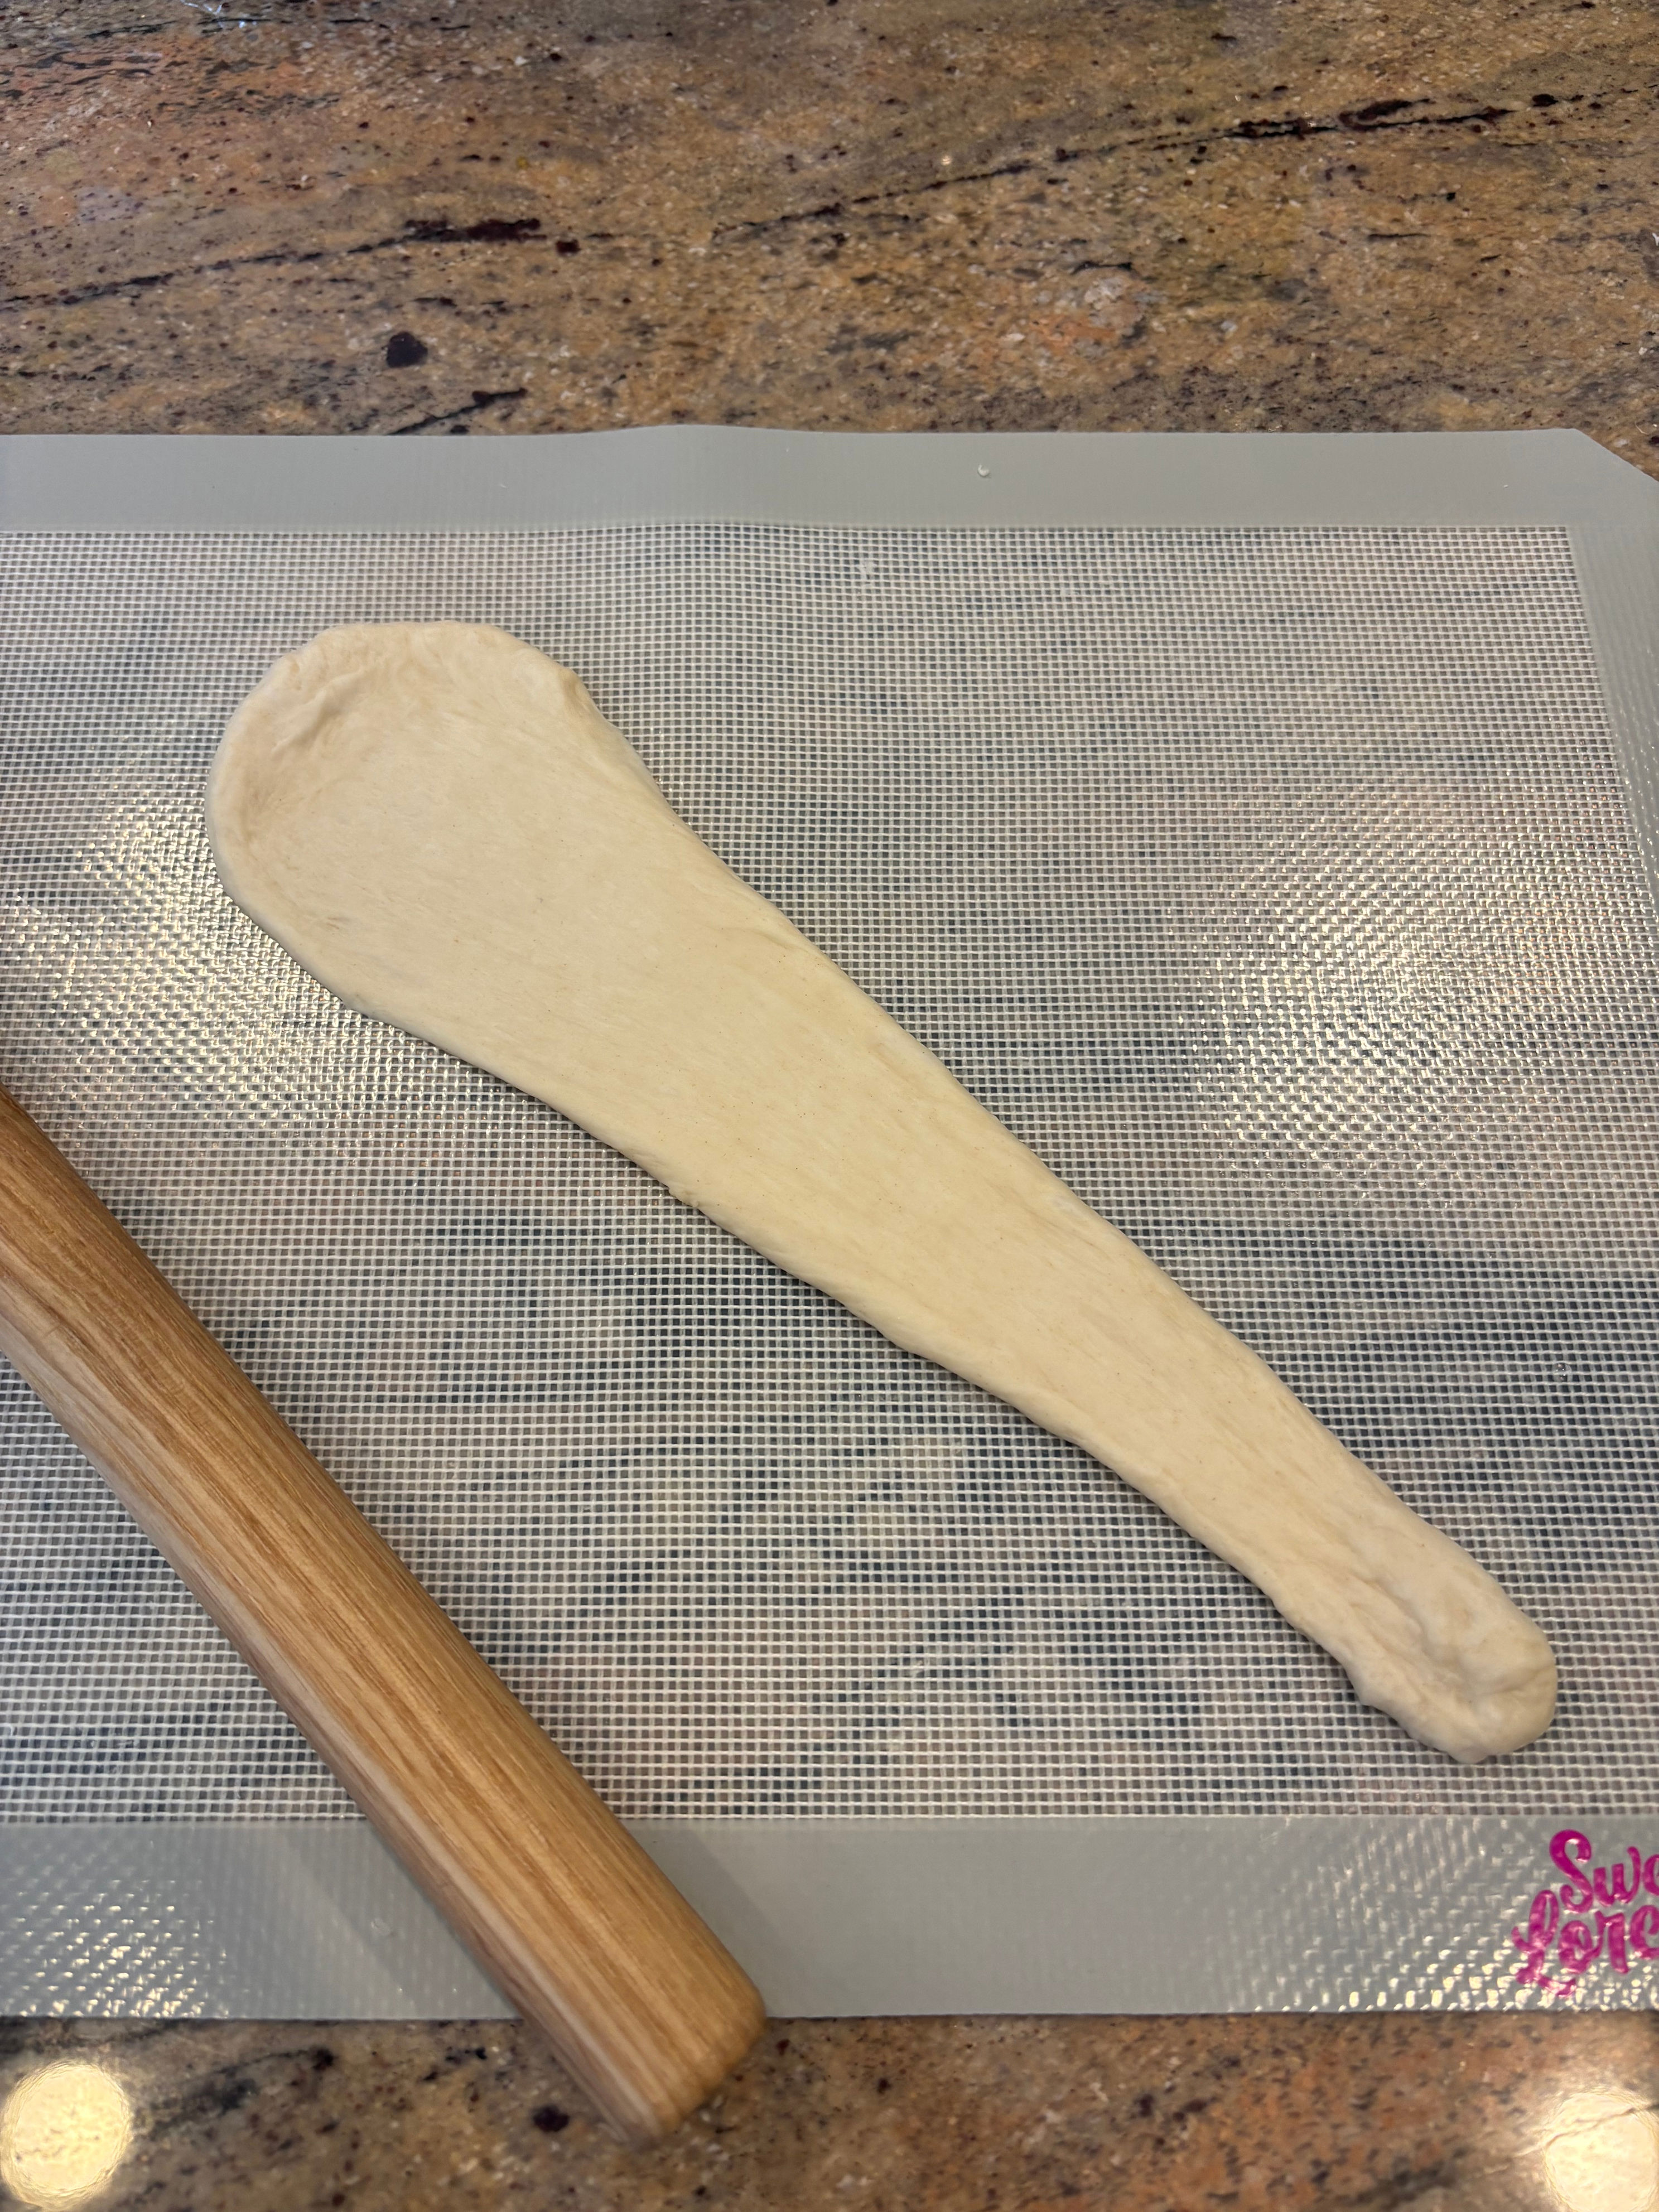
STEP 7: Shaping the Rolls
Now for the shaping. Take one dough ball and roll it into a long teardrop shape, with a wide top and narrow bottom. Using a rolling pin, start from the center and flatten the bottom half of the dough, lightly stretching it with your hand as you go. Then, flatten the wider top half. Once you get the hang of it, it doesn’t take long to roll out each piece (my 7-year-old had it down pat after two tries).
STEP 8: Adding the Butter
Place a piece of salted butter on the wide end of the dough. Starting there, roll the dough down toward the narrow tip, tucking and guiding it with your fingers as needed so everything stays snug.
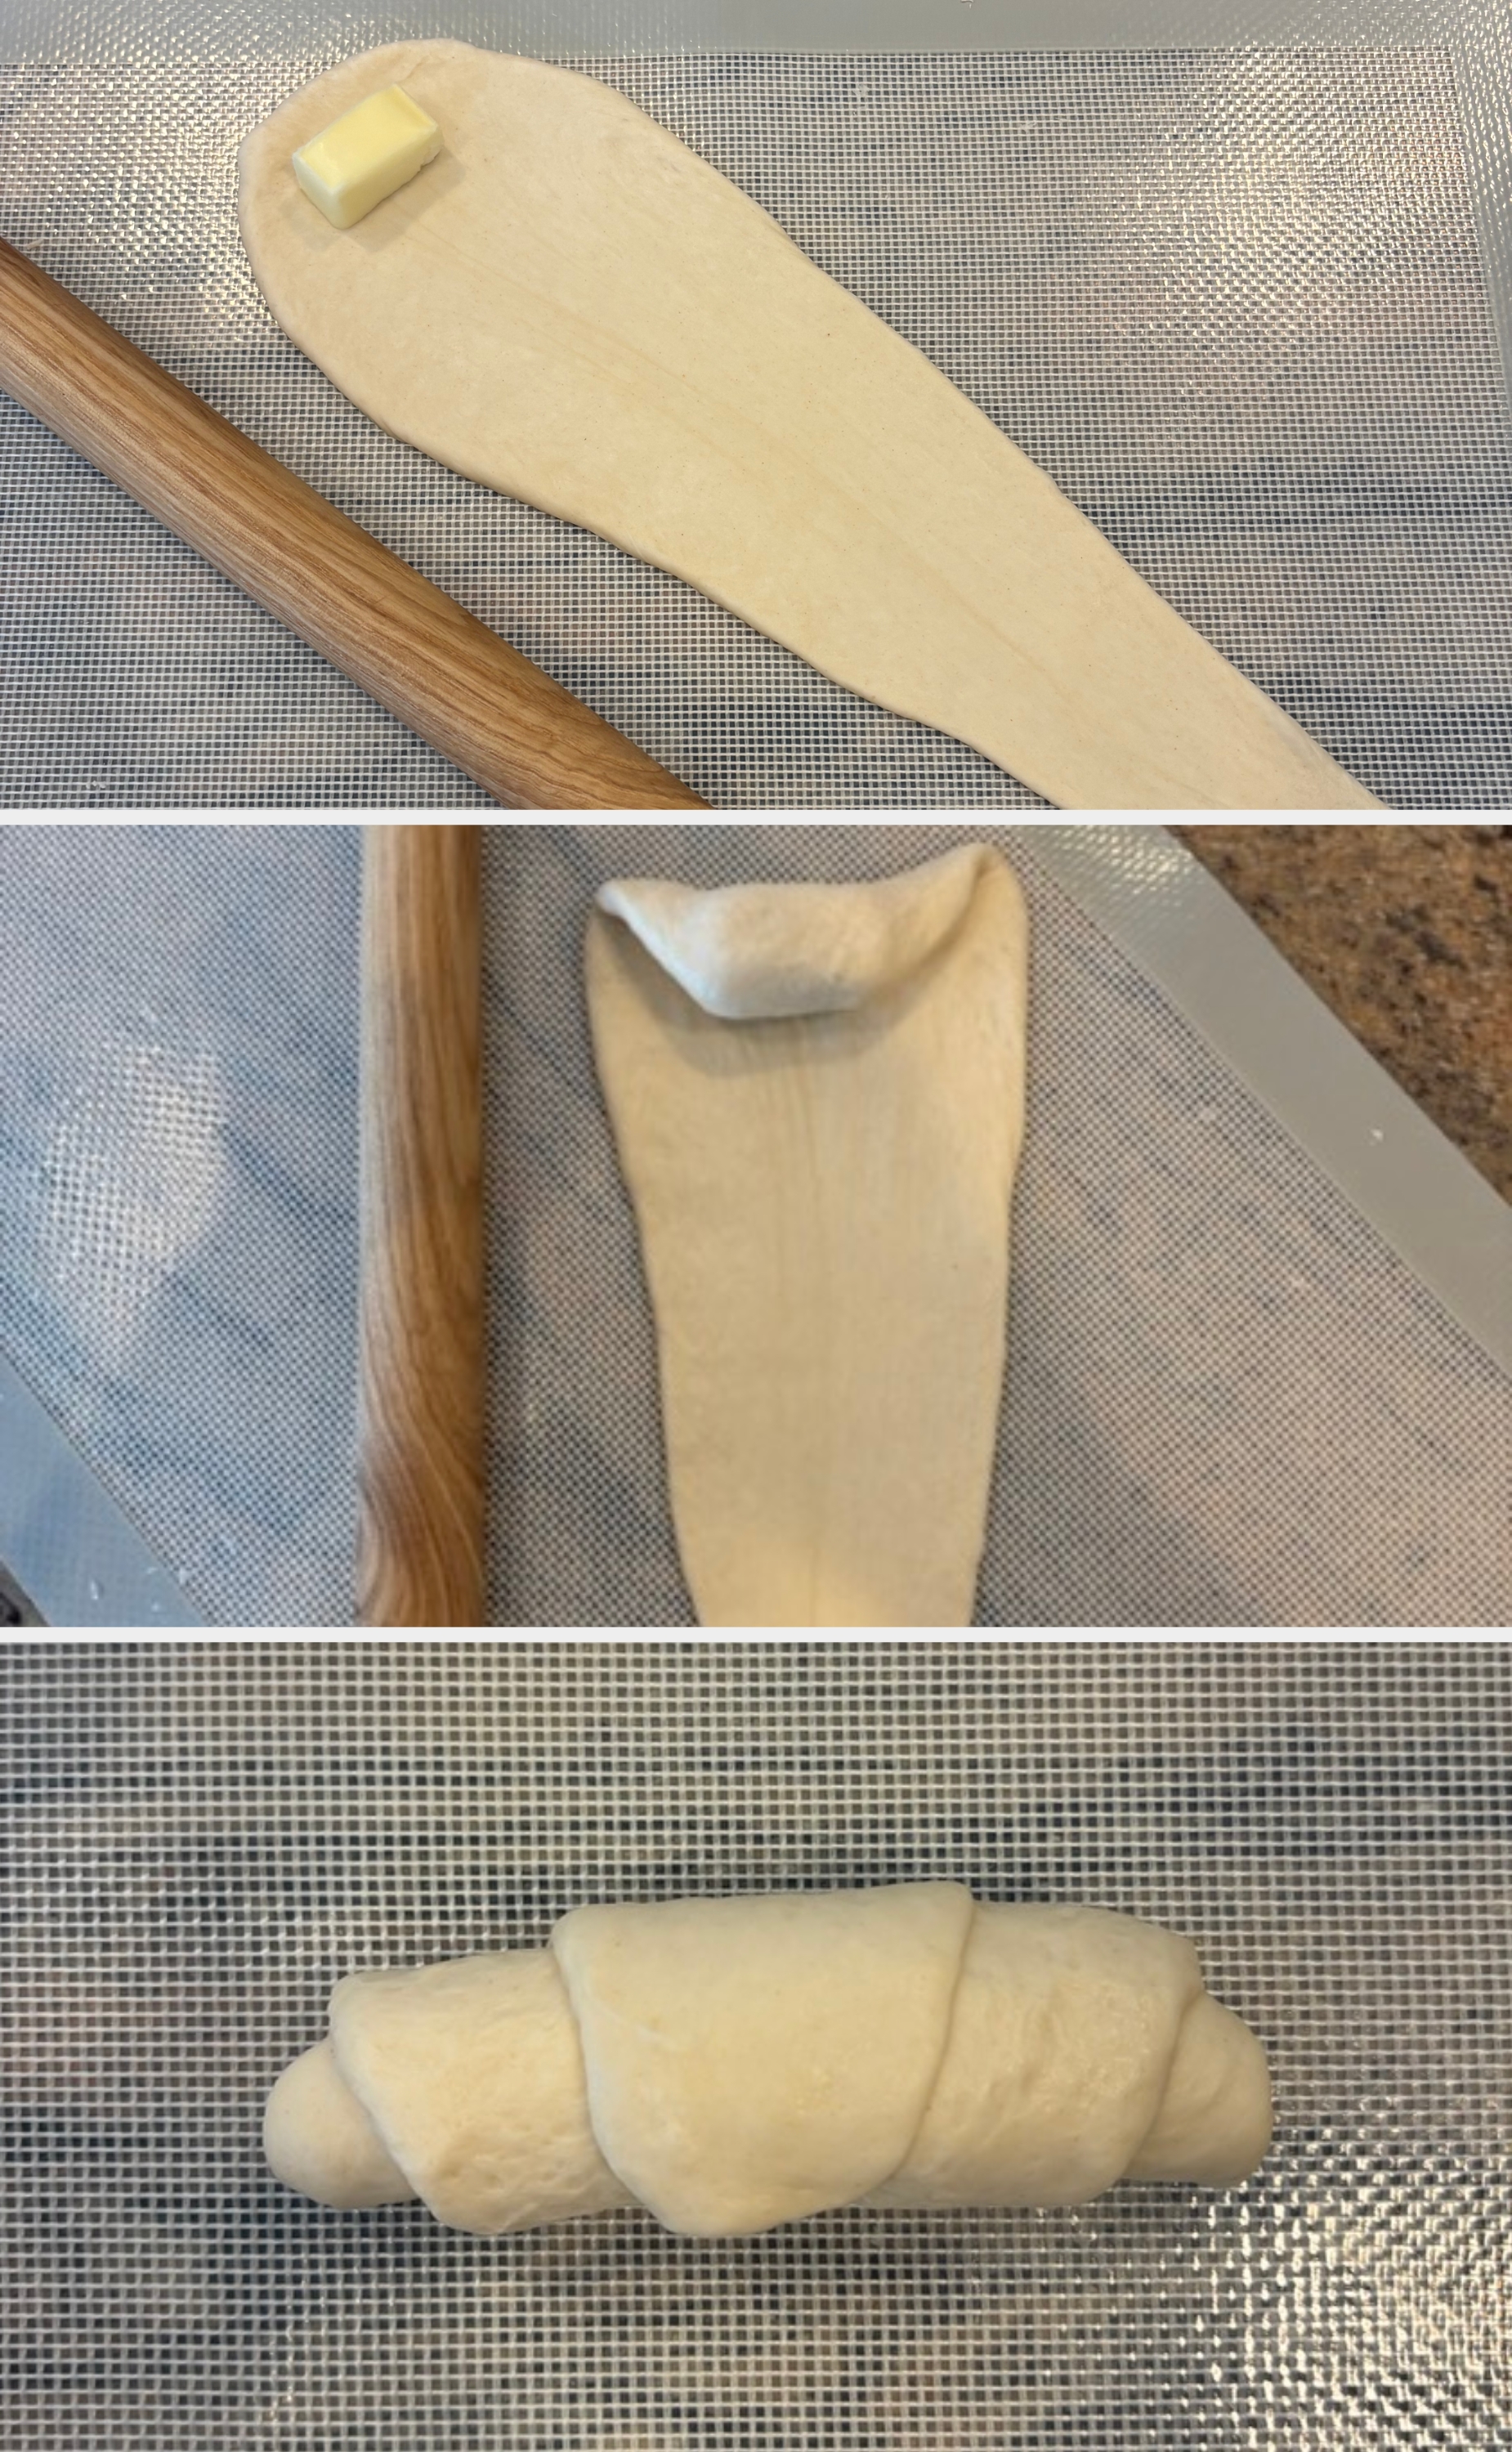
STEP 9: Final Rise
Place the shaped rolls seam-side down on a baking tray. Cover and let them rise again until doubled in size. This took about another hour in my kitchen.

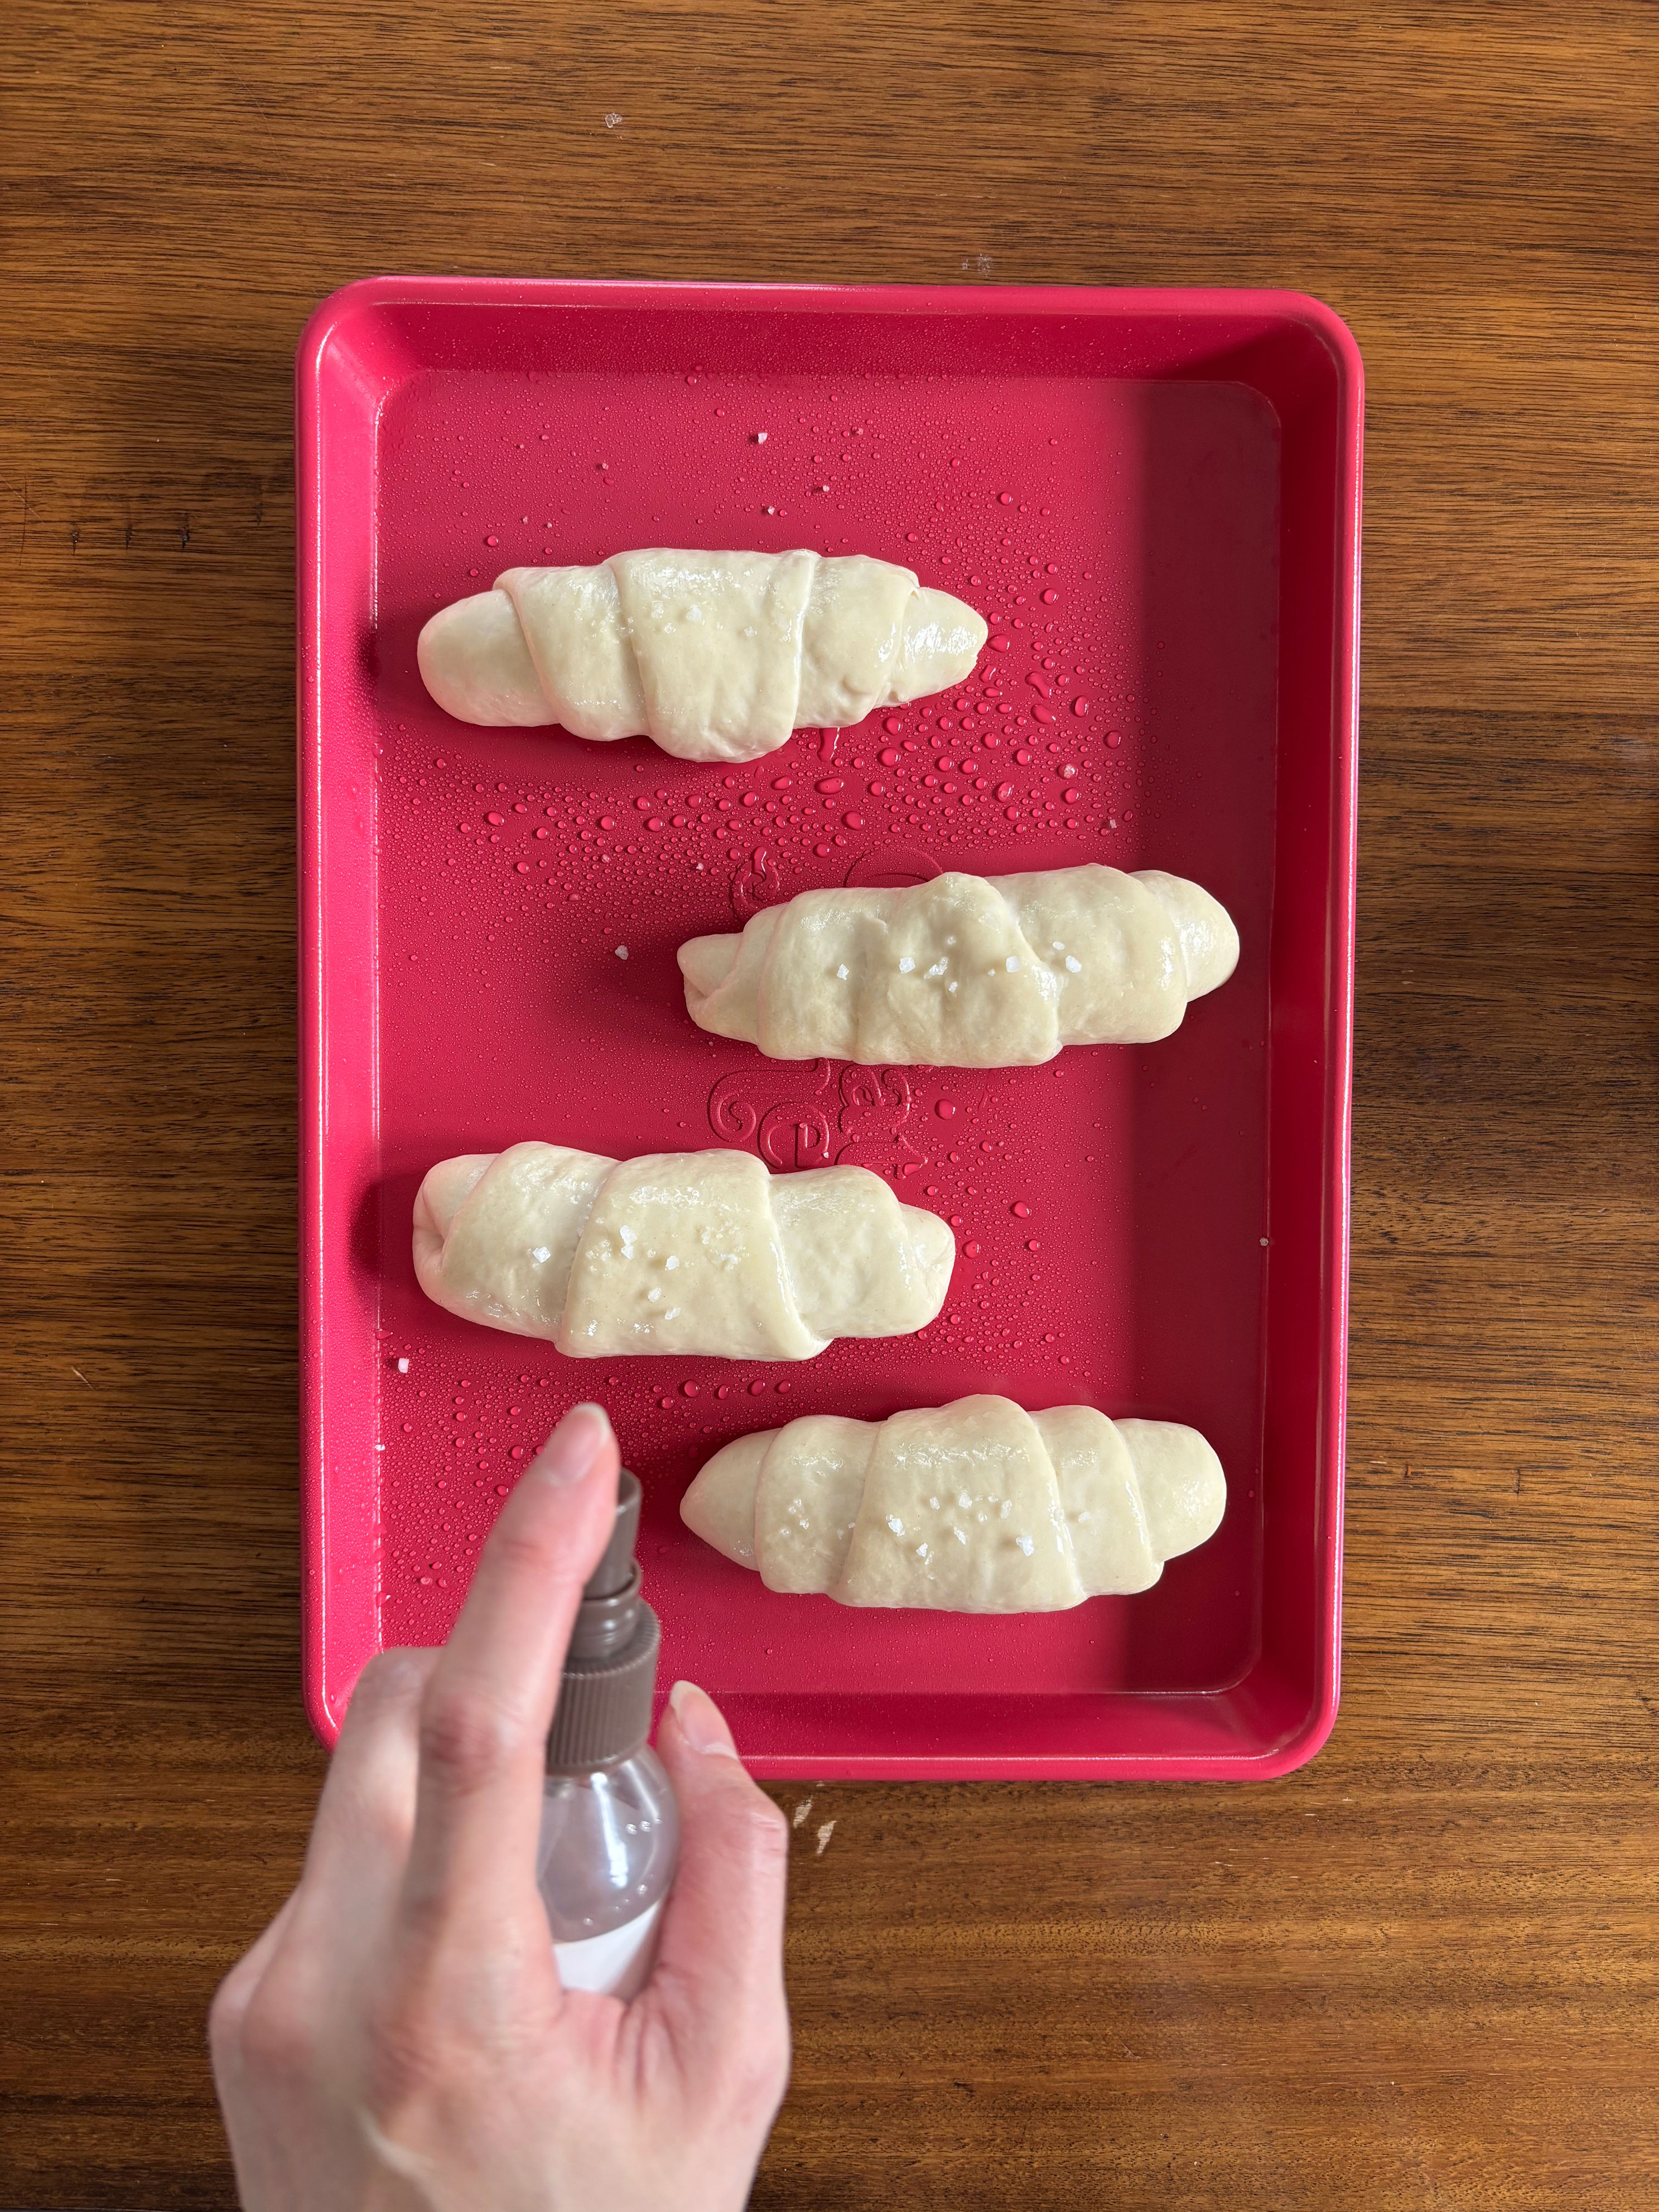
STEP 10: Baking Preparation
Preheat the oven to 450°F. Spritz the rolls with water, then top each one with salt. I used flaky sea salt since I didn’t have pretzel salt on hand.
STEP 11: Baking the Rolls
Right before baking, give each roll a generous second spray of water, about 20 pumps per roll. Then lower the oven temperature to 400°F and bake for 12 to 15 minutes, rotating the pan halfway through. Mine needed the full 15 minutes to get nicely golden.
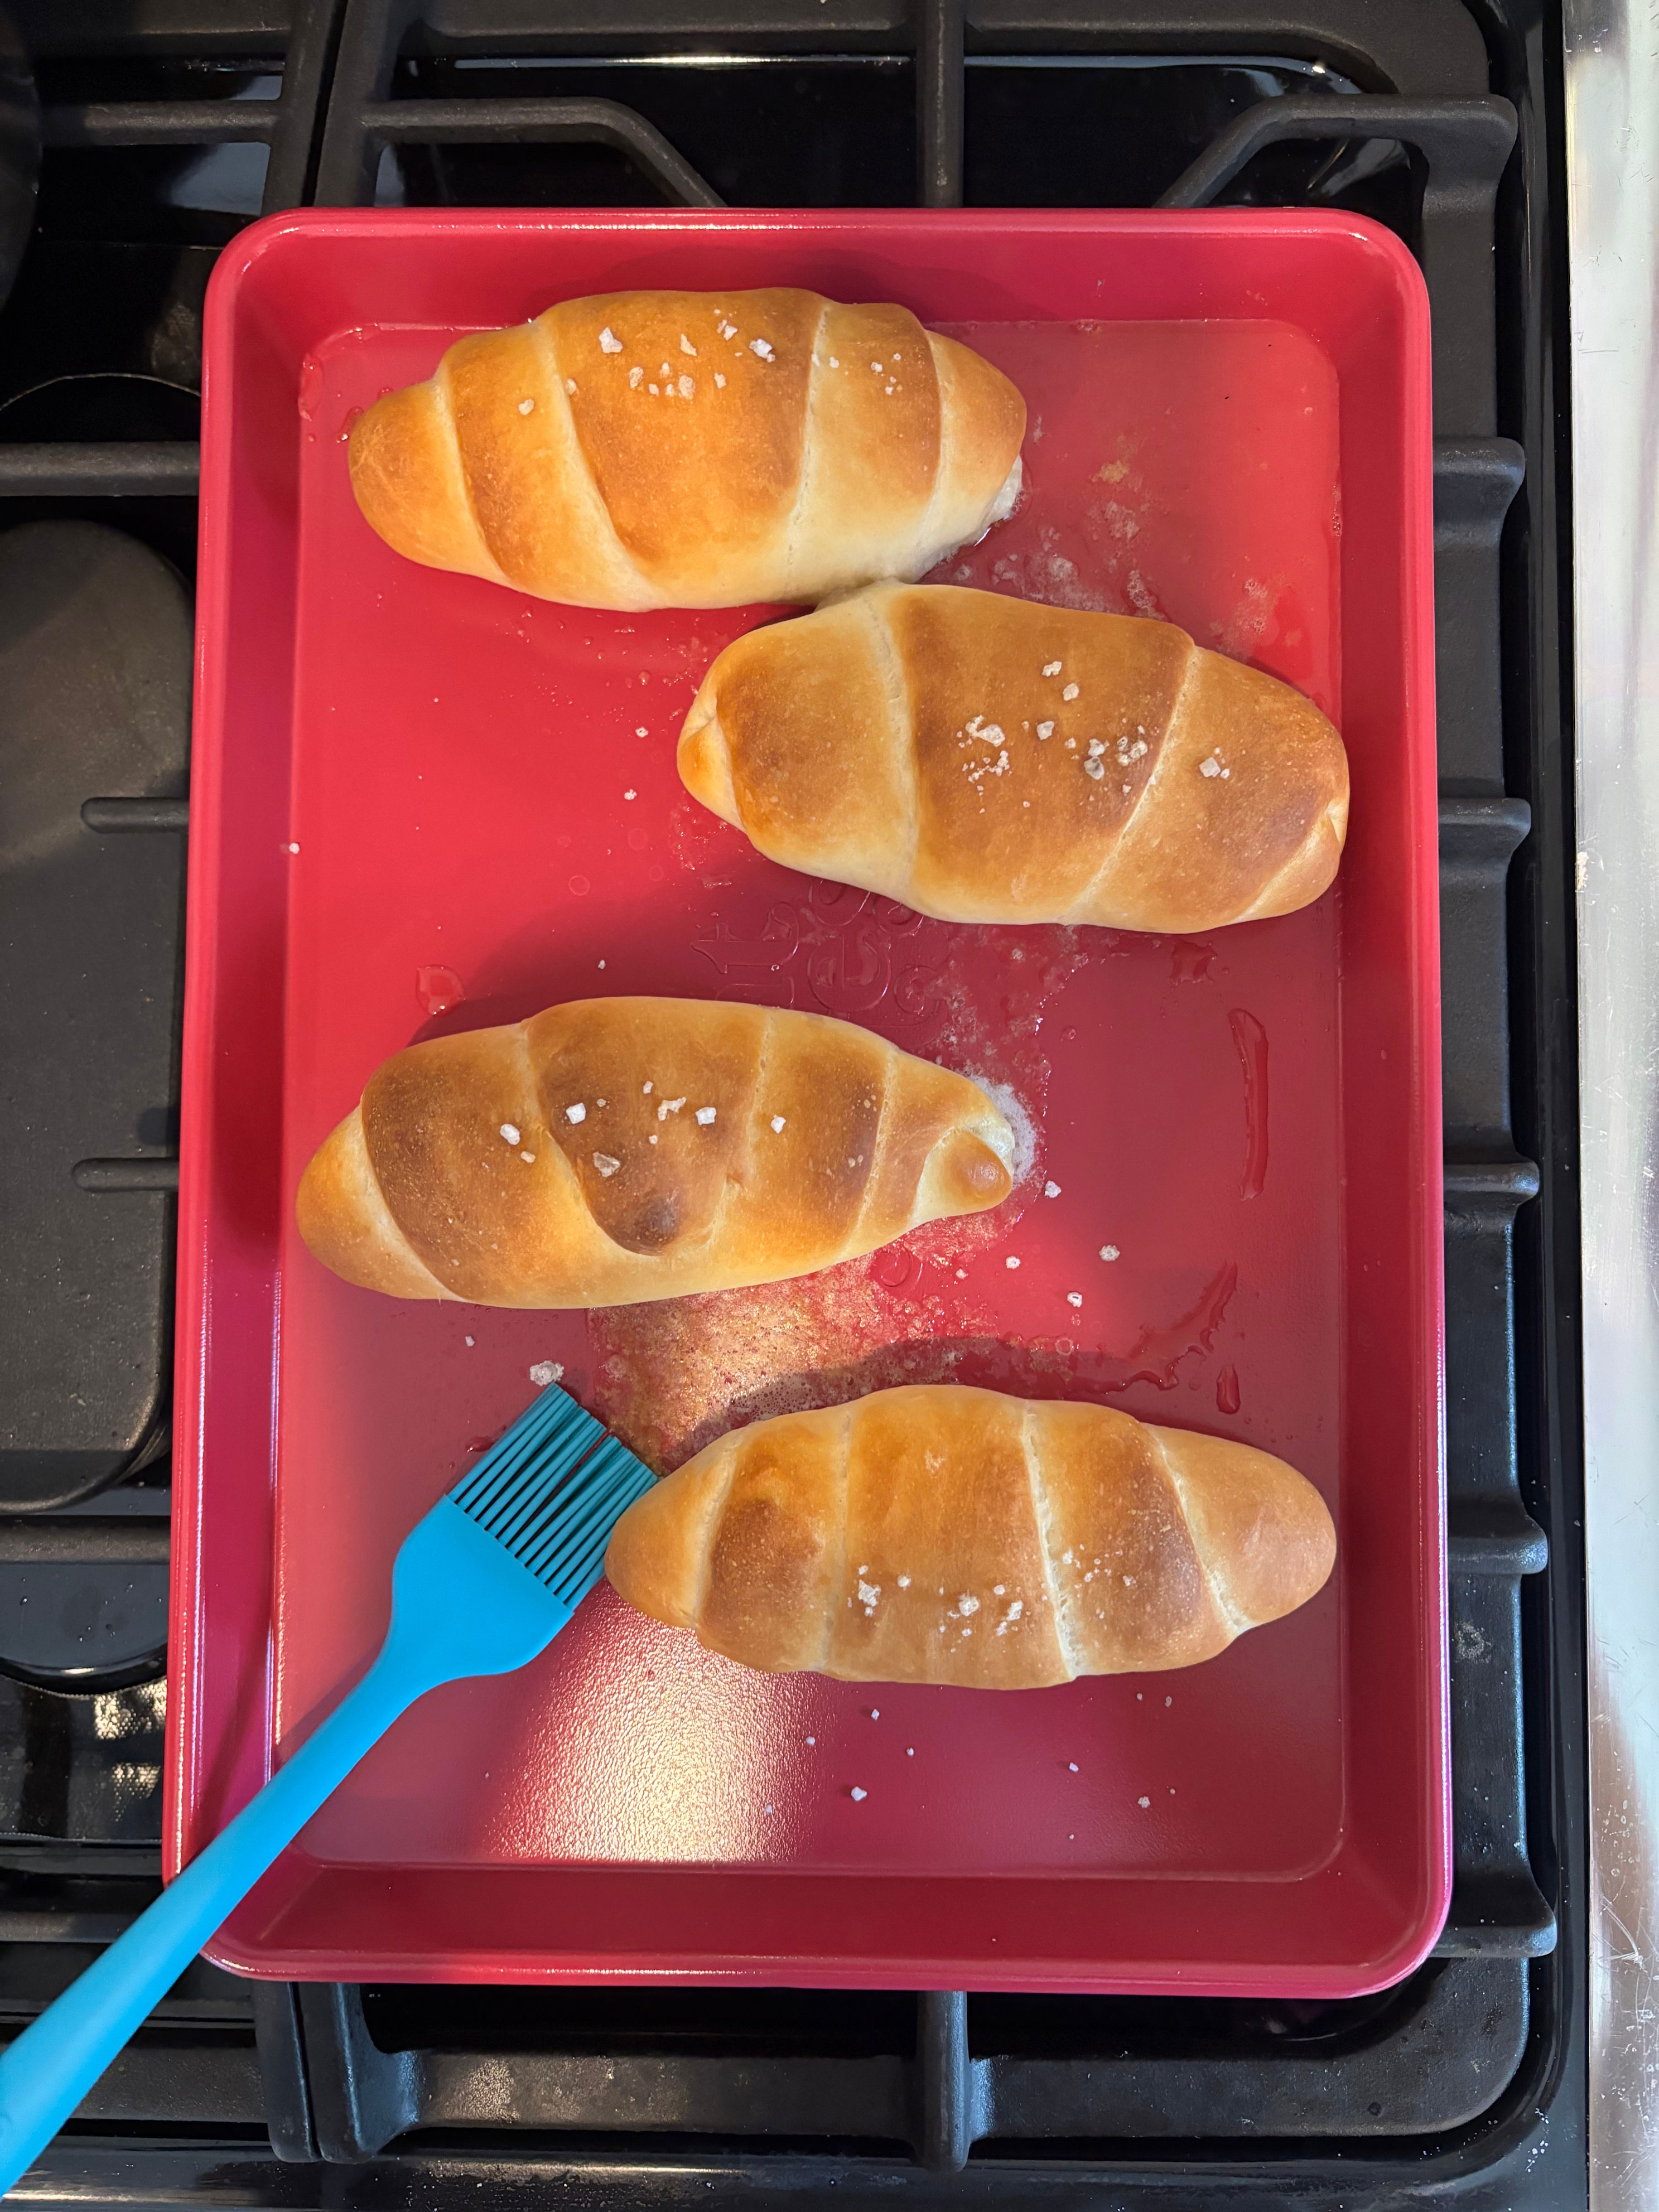
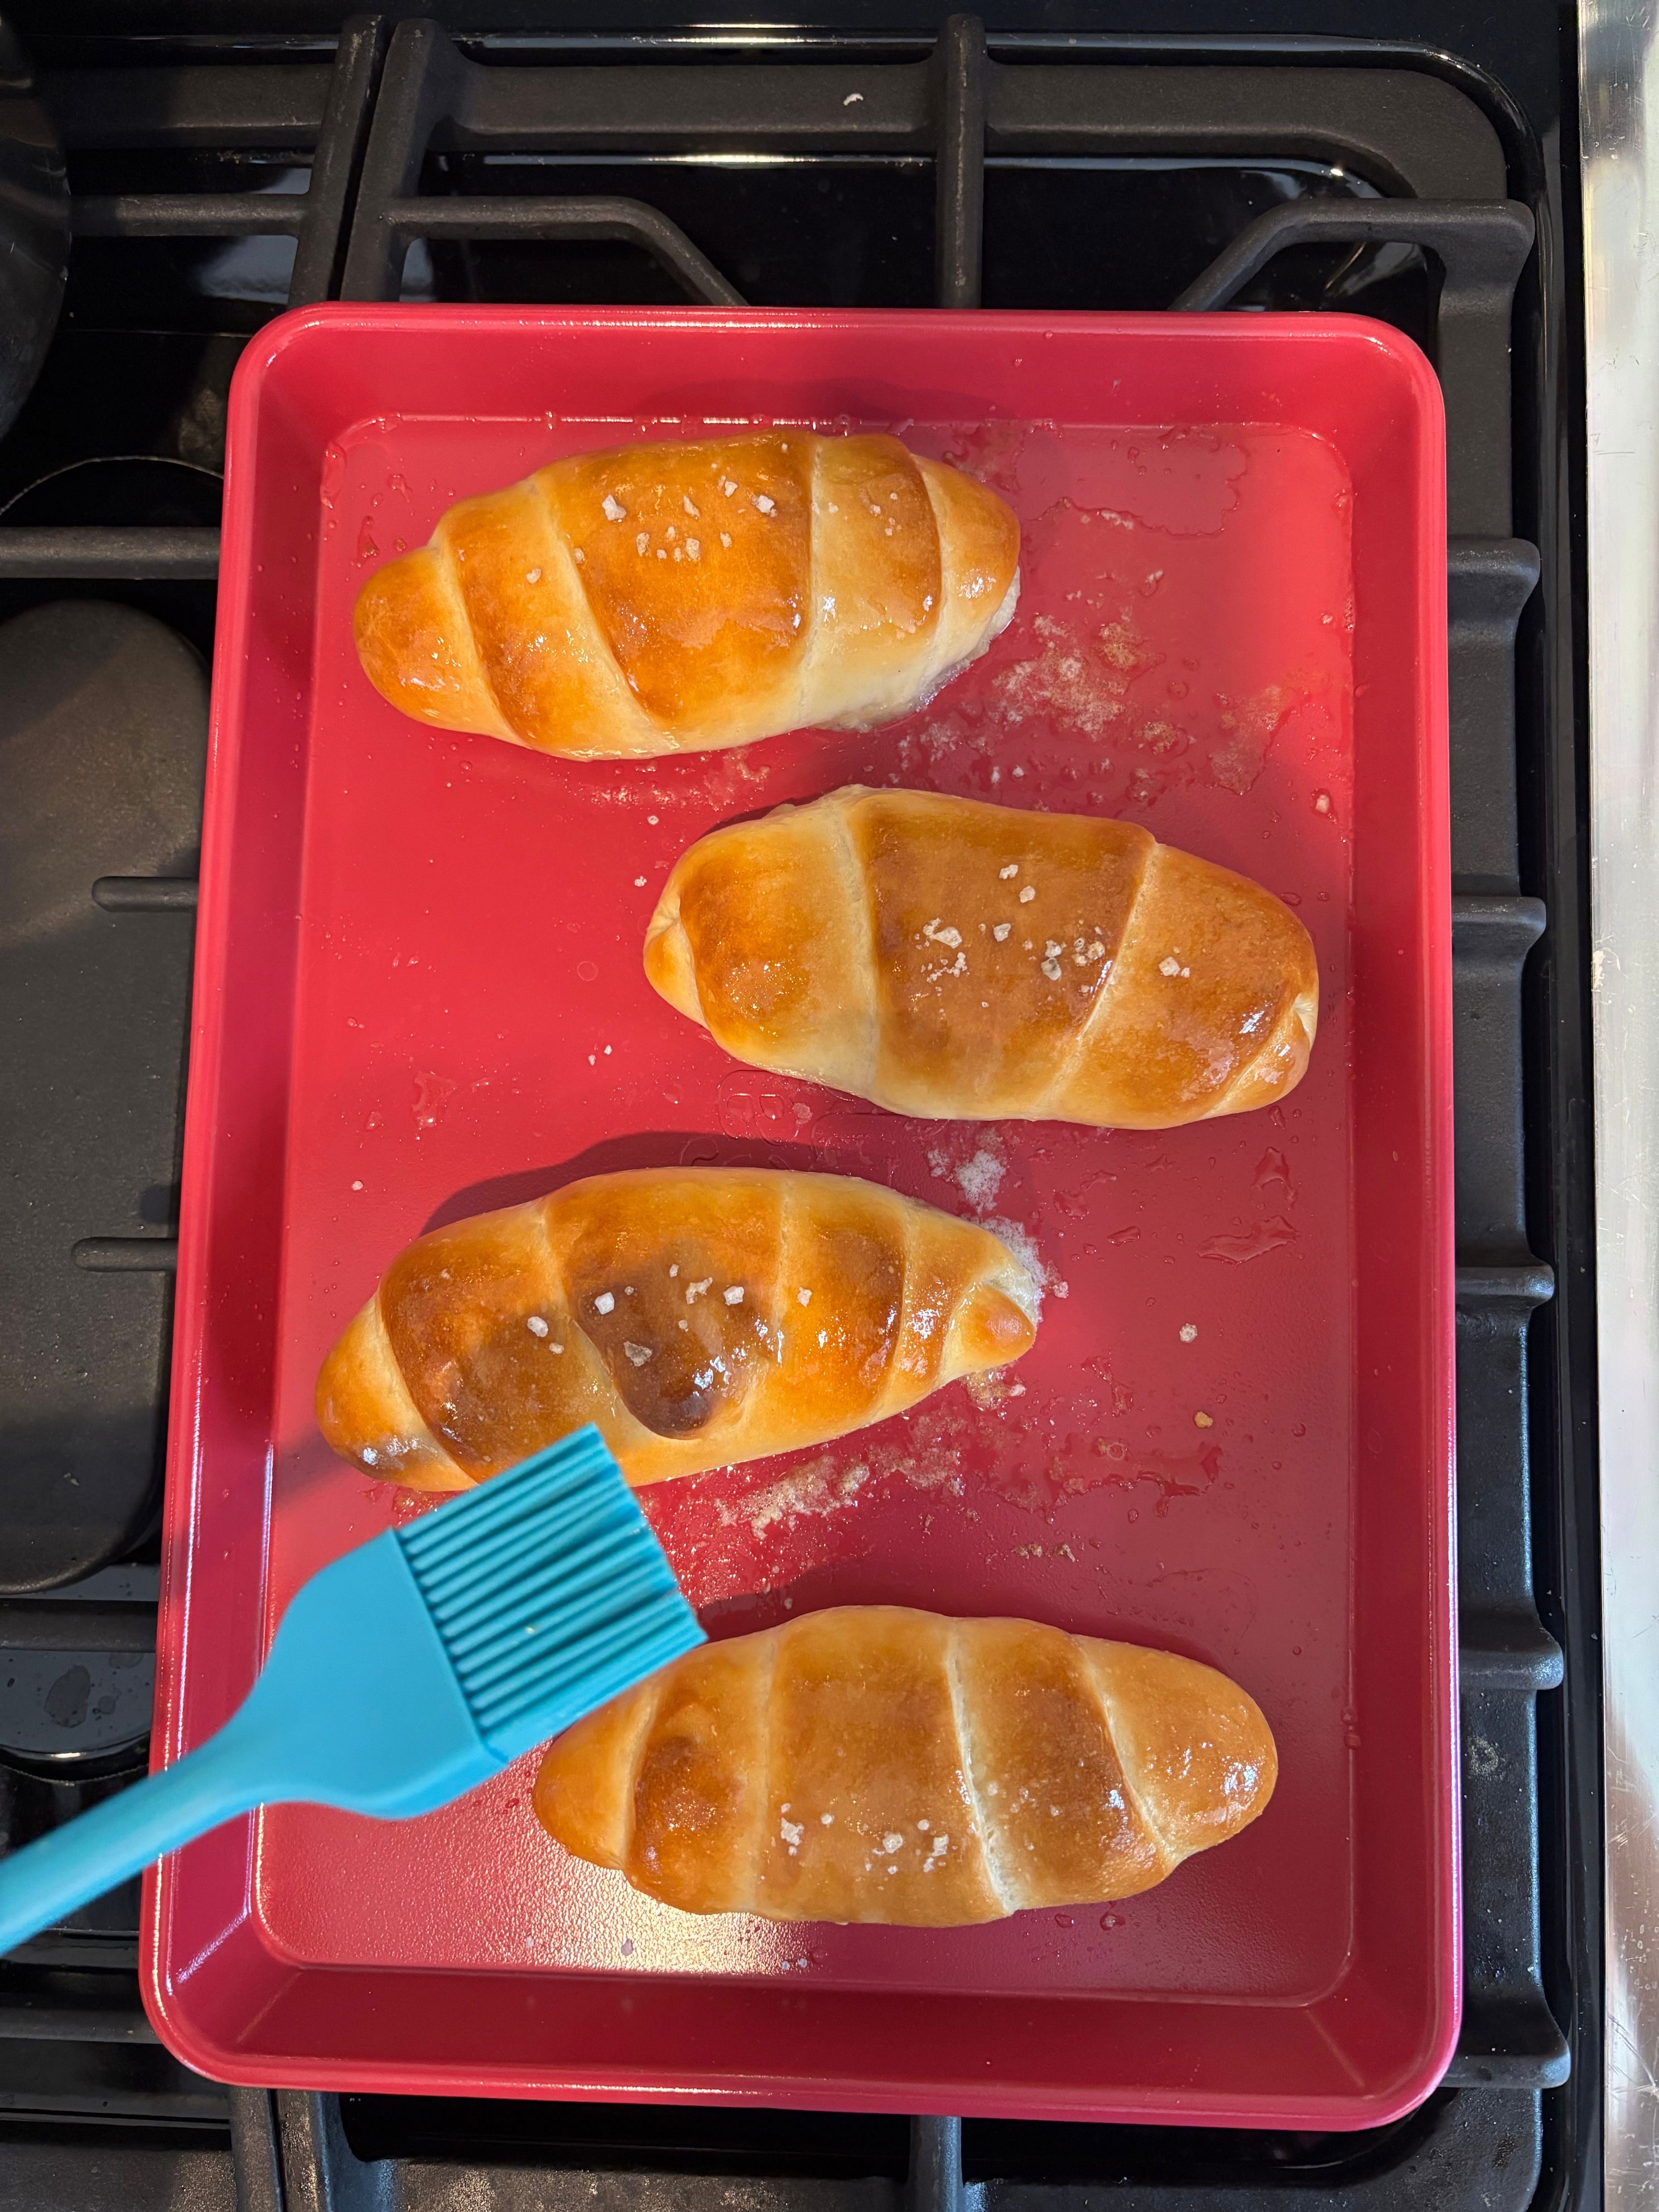
STEP 12: Final Touch
There’s one final step that isn’t written on her website, but Erin shares in her TikTok video, and it’s a crucial one. As soon as the rolls come out of the oven, brush them with the butter that melted out during baking. Yes, you’re essentially basting the bread, and honestly, it might be the best step of the entire process. Don’t skip it.
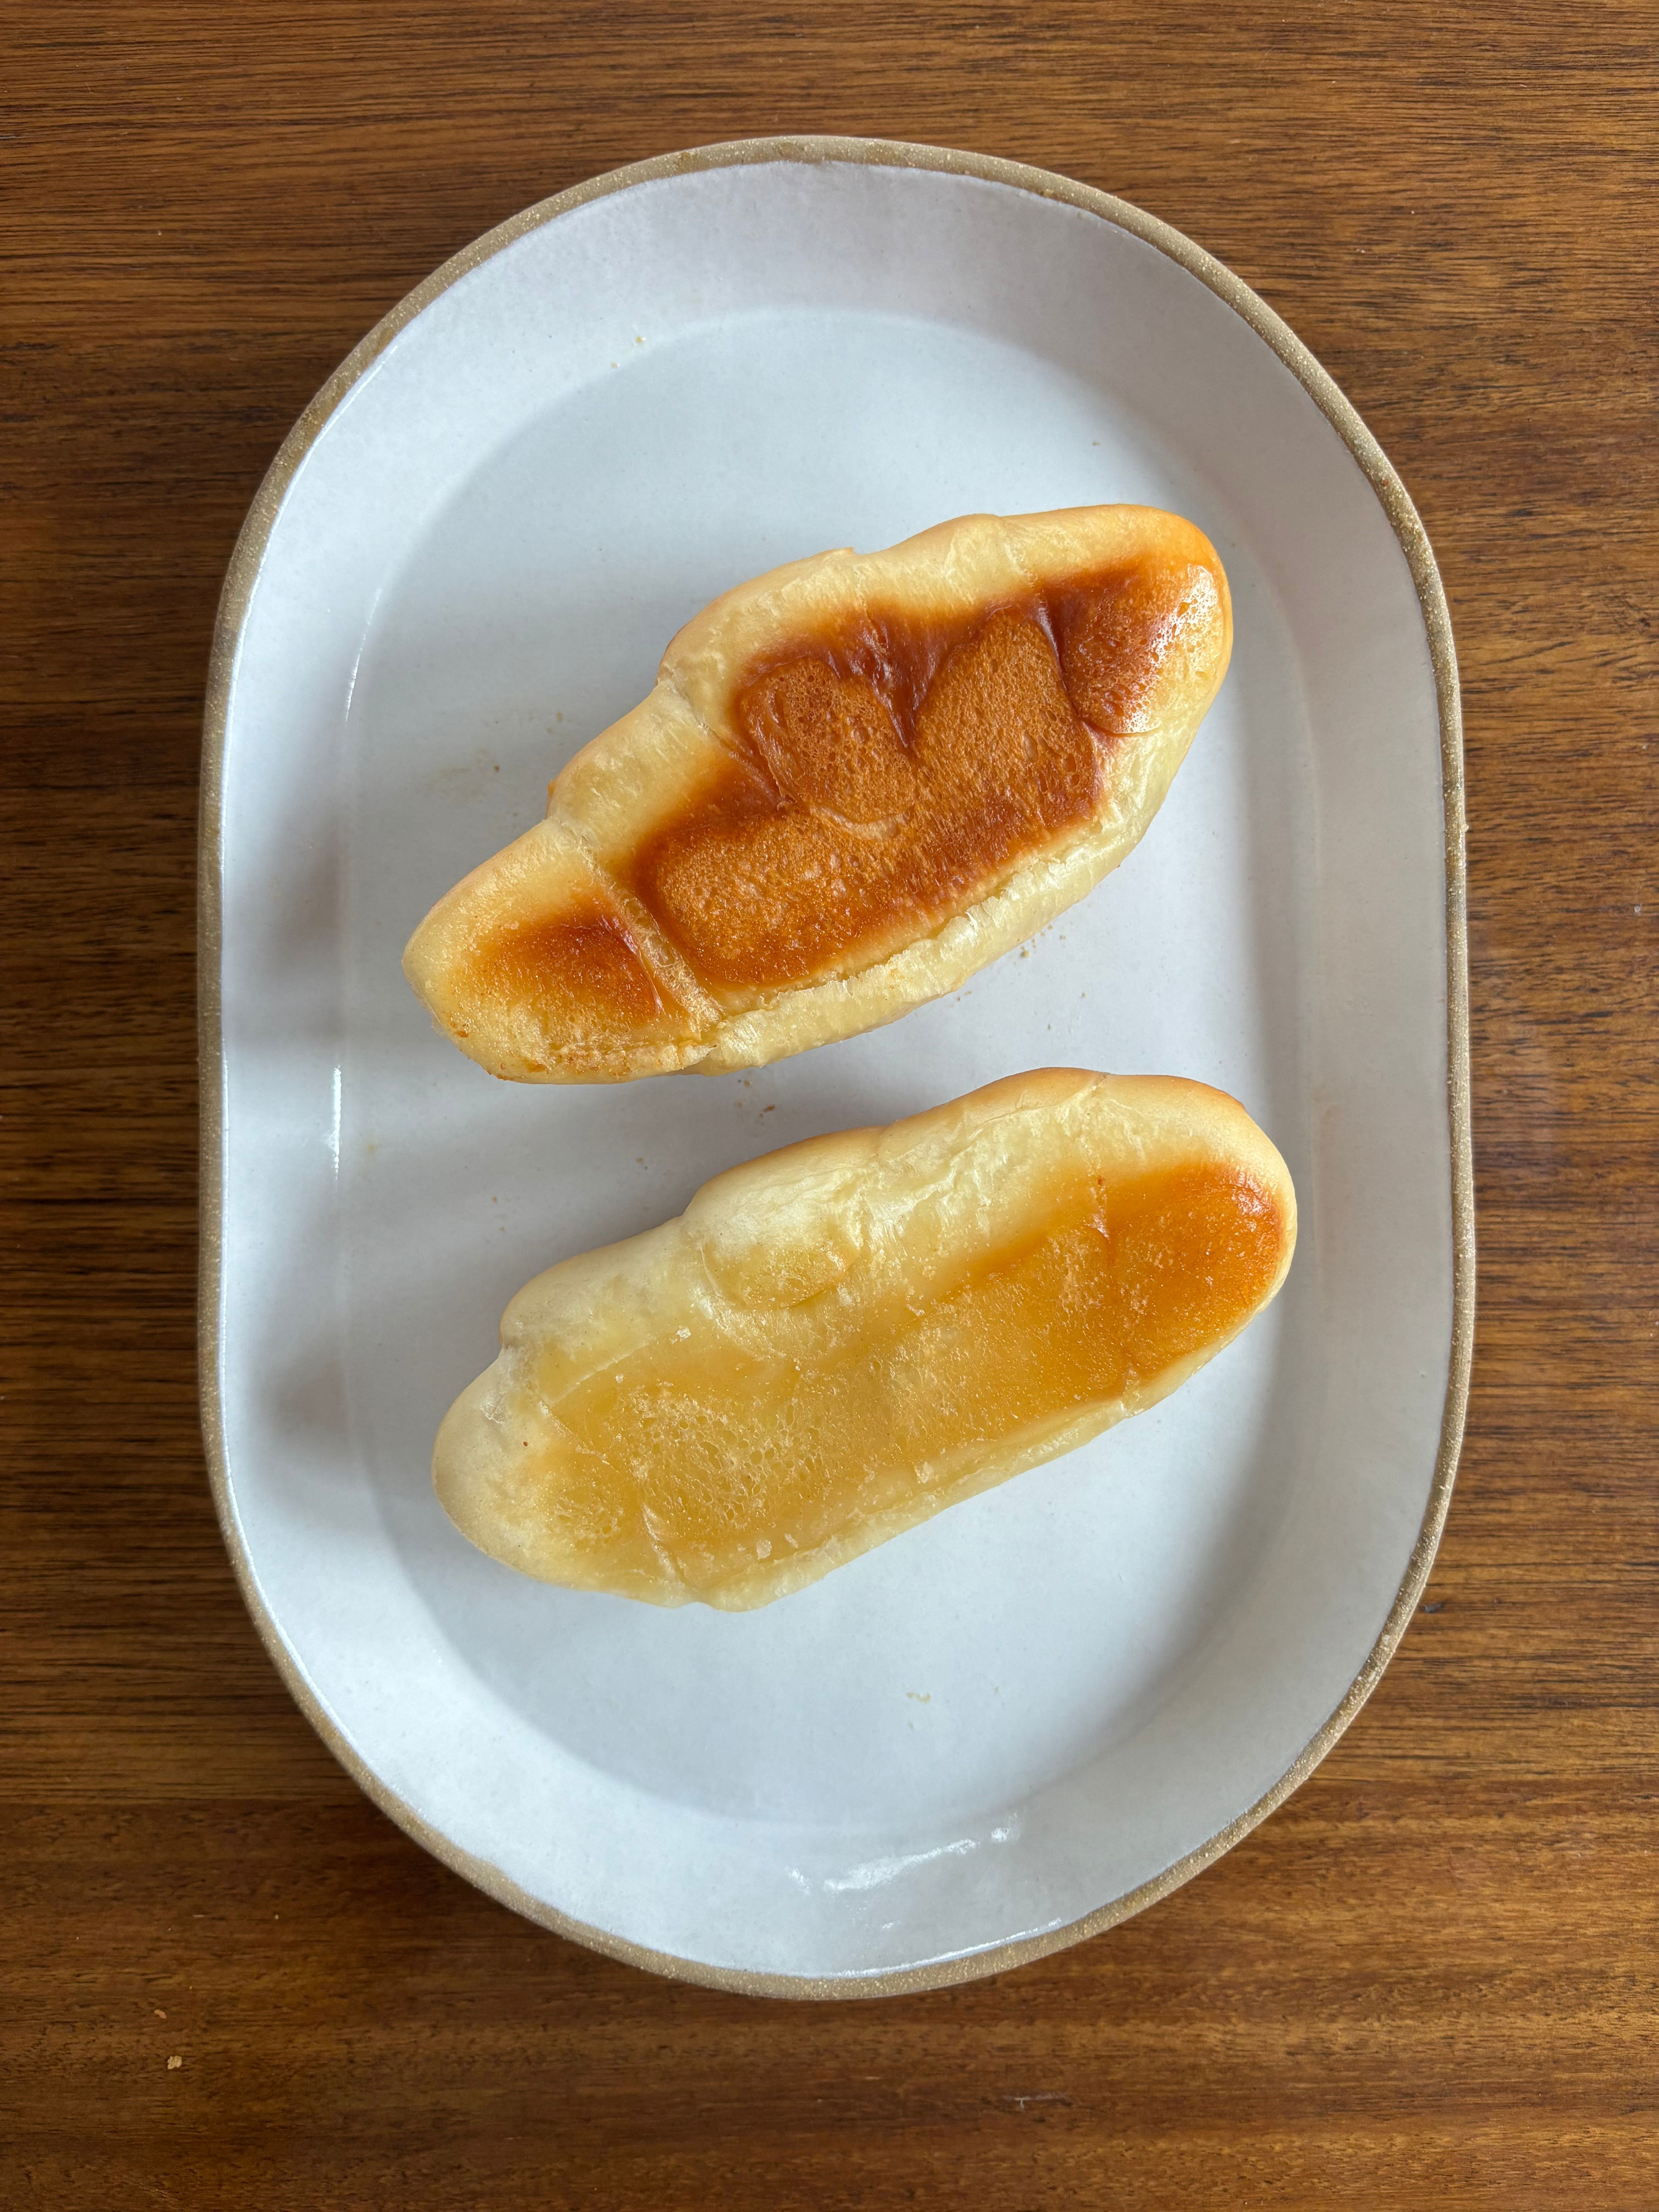
The recipe recommends using a nonstick pan so the buttery bottoms release easily. I only had one small nonstick pan, so I baked the rest on a regular aluminum tray. They stuck a tiny bit, but sliding an offset spatula underneath did the trick. I found that the batch that baked on the aluminum tray actually had browner, crispier bottoms.
I won’t pretend that this was quick or easy. Anyone who’s made bread from scratch before will tell you that it’s not an instant gratification kind of bake. Between mixing, kneading, dividing, and shaping the dough, it took me about two hours just to get everything prepped, and that’s not even counting the proofing time in between or the actual baking (which is actually the quick part). So if you’re looking for a fast, hands-off recipe, this definitely isn’t it.
But if you enjoy a good weekend baking project? Then Erin’s salt bread is absolutely worth the time and effort.
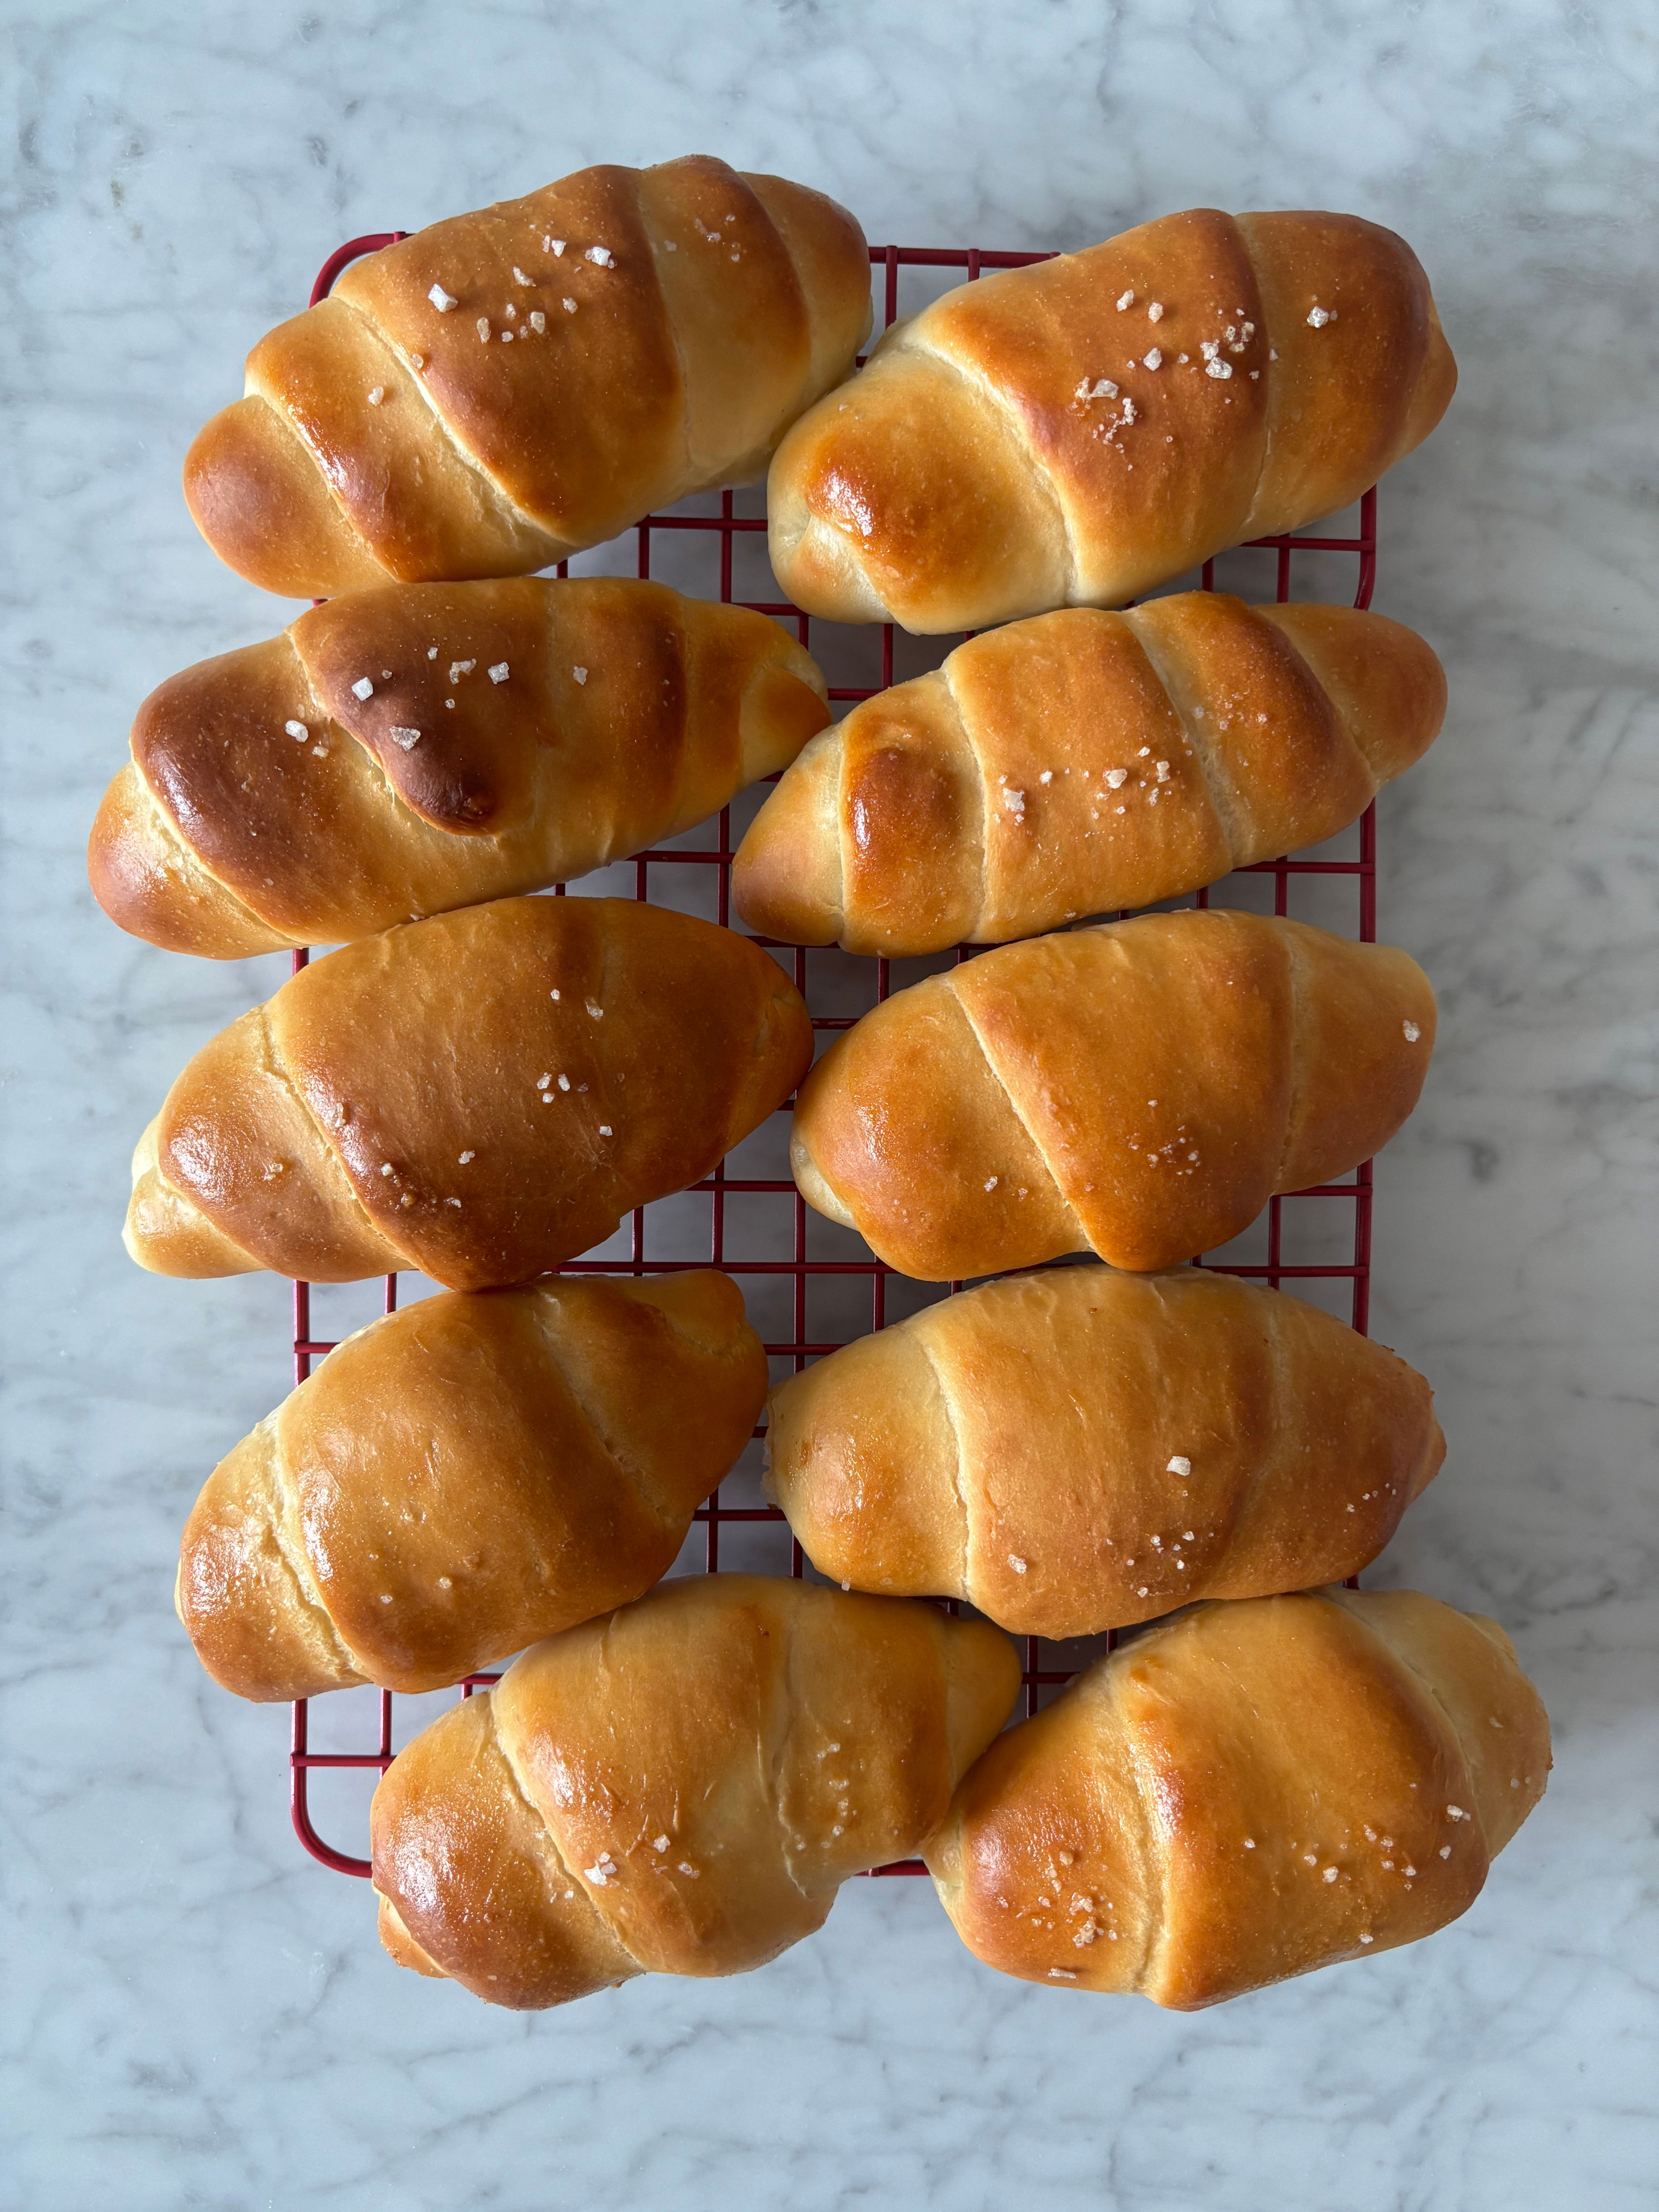
The payoff is a batch of warm shio pan with everything that makes them so special: soft, fluffy bread, a buttery interior, that signature crispy bottom, and just the right hit of salt on top. Honestly, the reaction from everyone I shared them with said it all — every single person was impressed by the shio pan.
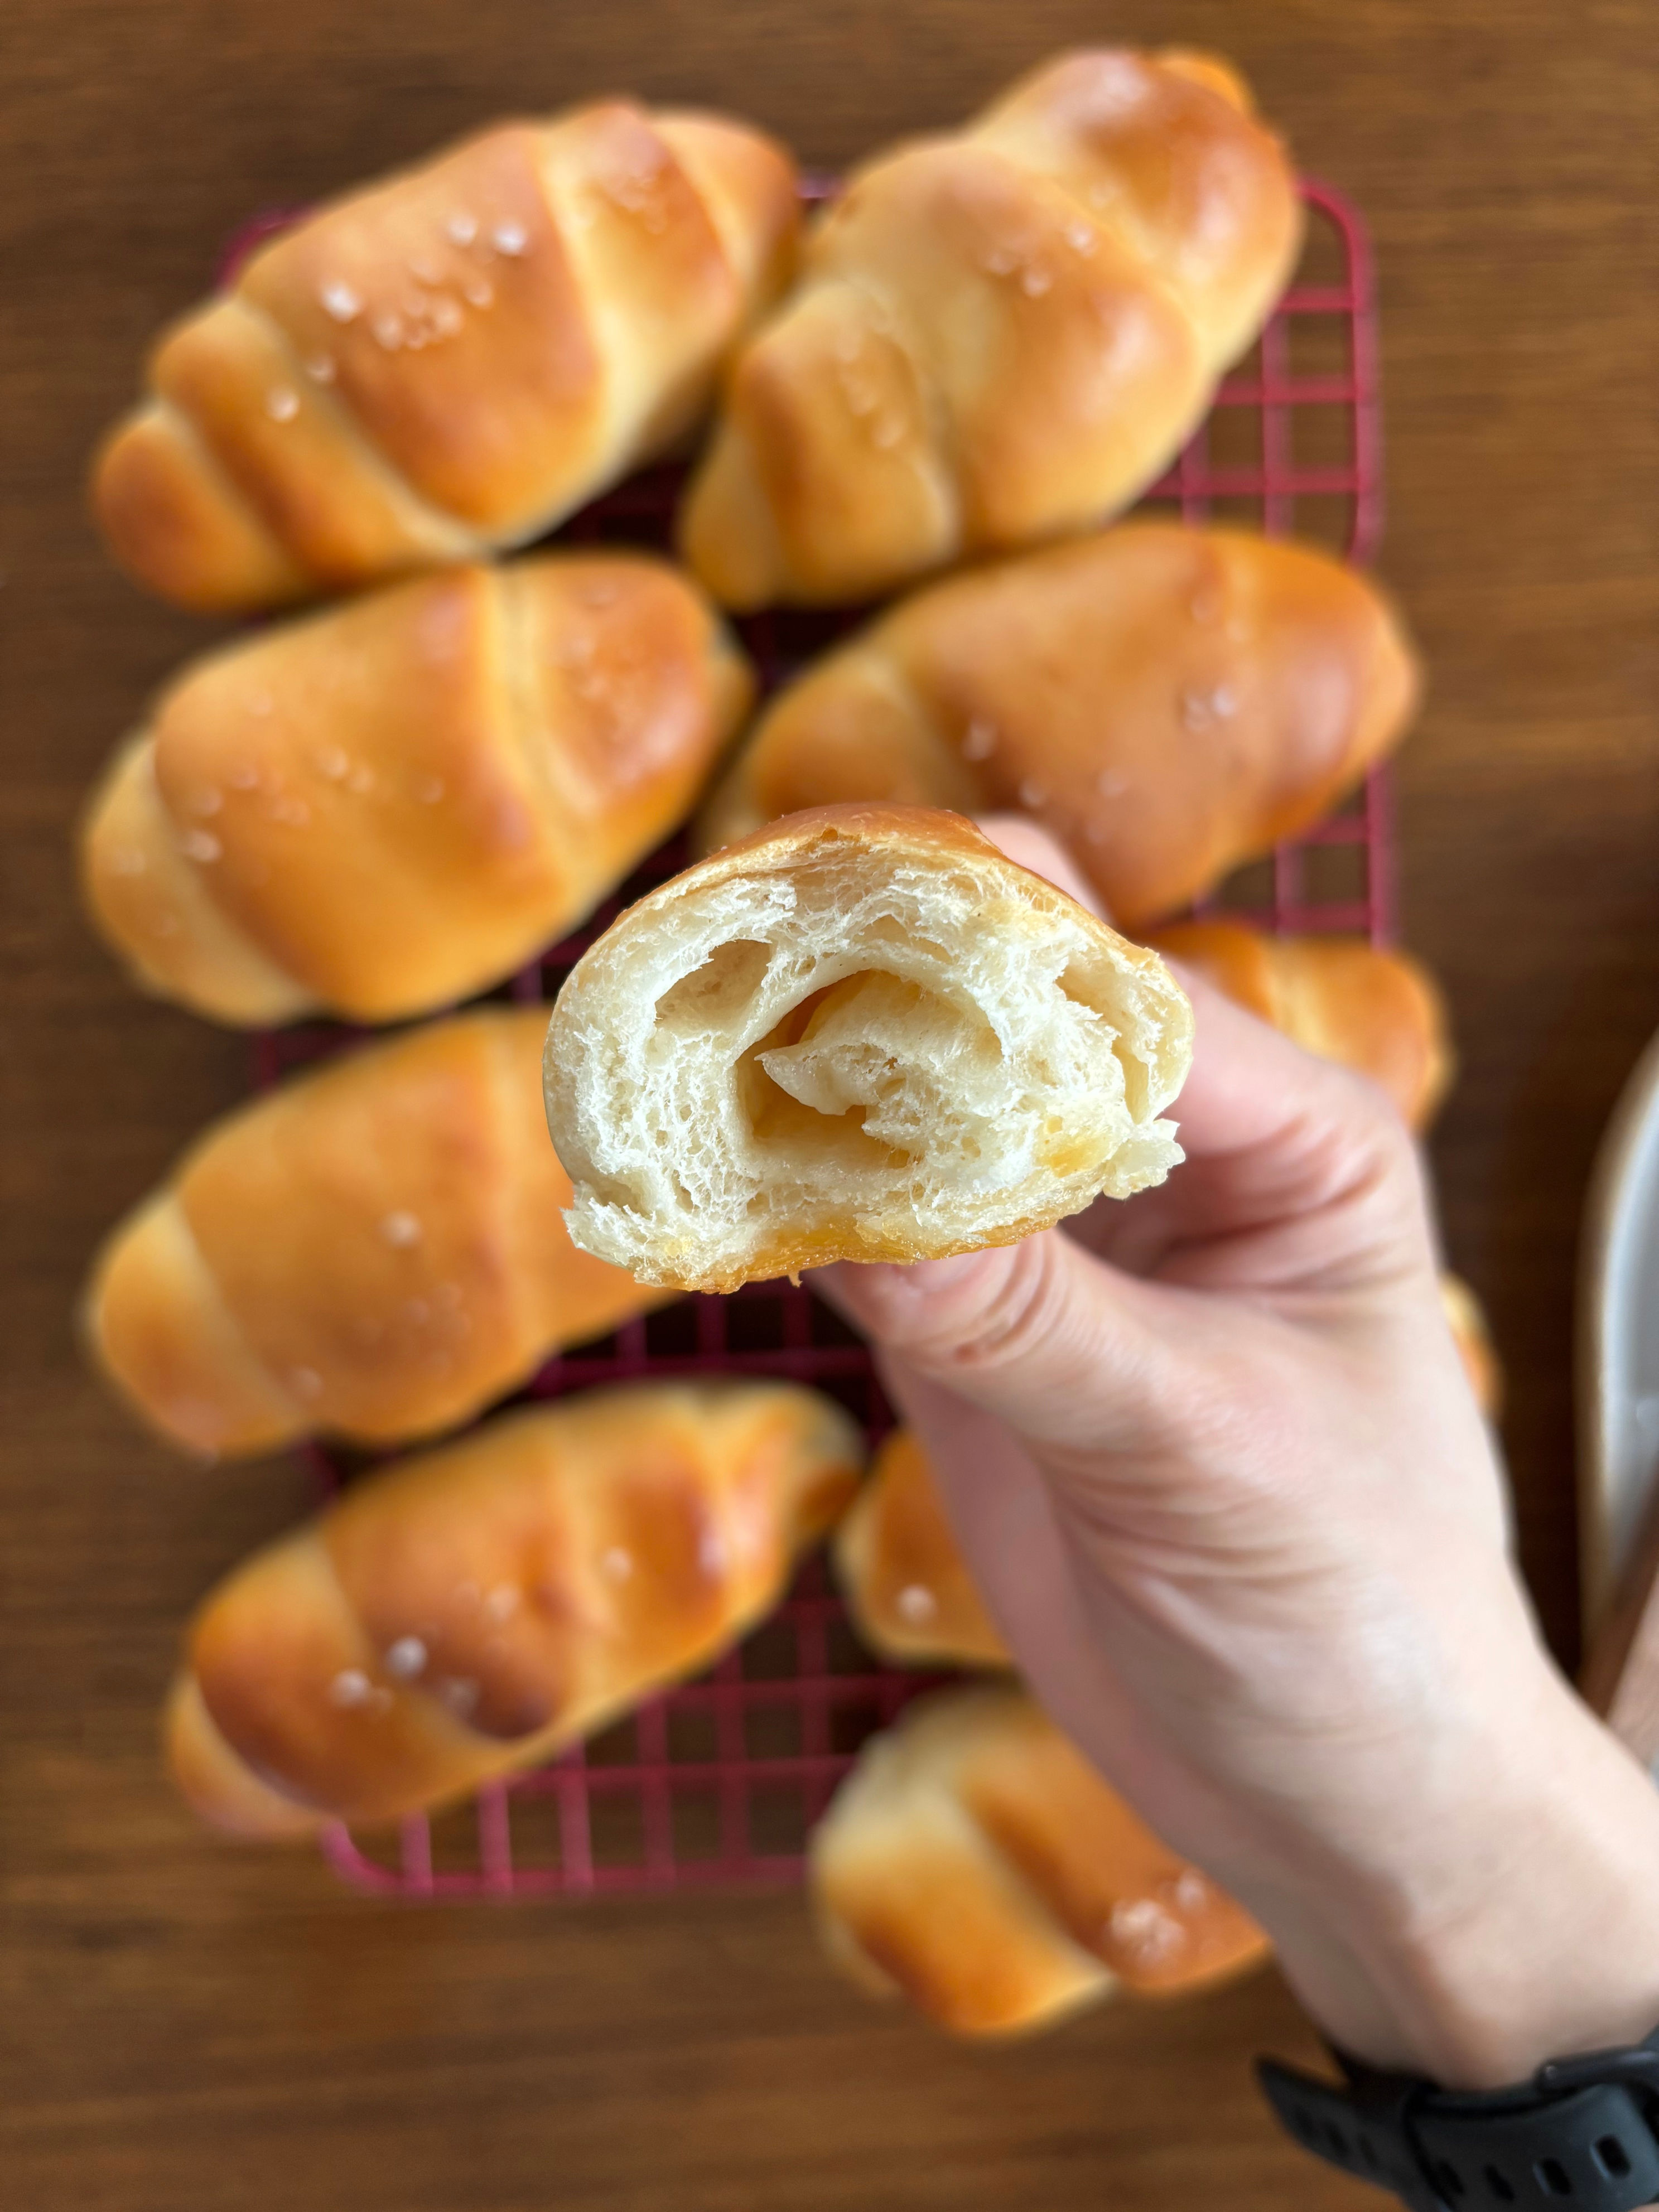
And I was, too. I genuinely think these hold their own against the bakery versions I’ve had. In fact, if you enjoy them fresh out of the oven while the bottoms are still crackly and the buttery inside is still warm, they might even be better.